I really hate Bmw headunit. It should be called BMW crap cd. Somebody from Bmw should be in jail for installing that headunits in bmws.

I bought pioneer 3300 bt 4 years ago and I love it. It has got everything you need for reasonable price. I had it 4 years in my Toyota Corolla.

Now I want it in my Bmw, but here is one big problem. You can only have 1 din radio in E83. I don’t know what bmw were thinking. And 1 din bmw business cd is misery business!!! I fuckin hate it, I’d love to smashed it with hammer. Every time I turn on my car I must take deeep deeep breath and hide all my hammers!

I wanted to sell the car just because of a shitty 1 din radio.

Then I get one idea. If I can remove top drawer from dash which is useless I can maybe install my pioneer.

Here is how I tested if it would fit in the hole:

It is tight, but it would fit. MAybe I won’t sell a car 🙂 So I bought some fiberglass, some tape and started working.

First I created mold from top drawer:

Bmw x3 2 din stereo fascia

Bmw x3 2 din stereo fascia

Bmw x3 2 din stereo fascia

Bmw x3 2 din stereo fascia

Bmw x3 2 din stereo fascia

Then I covered mold with tape and sprayed it with colour and made base fascia for my headunit:

Bmw x3 2 din stereo fascia

Bmw x3 2 din stereo fascia

Then cut it to the right size for headunit to fit in and made front fascia from wood.

Bmw x3 2 din stereo fascia

Bmw x3 2 din stereo fascia

Bmw x3 2 din stereo fascia

Bmw x3 2 din stereo fascia

Bmw x3 2 din stereo fascia

Bmw x3 2 din stereo fascia

That is it for now, I will post more pics  in part 2.


Part 2:

BMW X3 E83 2 din Pioneer fascia part 2

Here are dimmed tail lights on my x3 e83.  It looks much better. I used not very dark vinyl.

Dimmed tail lights

Dimmed tail lights

Dimmed tail lights

dimmed tail ligts


Here is video of hiking on Triglav. Triglav is mountain in Slovenia.It is the highest mountain in Slovenia with elevation 2,864 m (9,396 ft). Triglav is mountain in Julian Alps.

I have Bmw X3 2007 with 131 000 km on tacho. I noticed that it is not runnig smoothlly on idle and I also read a lot of swirl flaps problems on web. So I decided to check egr valve and remove flaps at the same time.

You need to remove engine both engine covers, disconnect vacum hoses and injector connections hoses on egr valve, air filter with housing and strut tower bar. I forgot to take picture of engine without intake manifold.

Swirl flaps Bmw e83

After I removed it, you can see a lot of carbon on flaps.

Swirl flaps Bmw e83

Egr valve

Swirl flaps Bmw e83

Use carb cleaner to remove carbon and knife or something similar.

Swirl flaps Bmw e83

flaps1

Then sand them and clean them.

Swirl flaps Bmw e83

I also cleaned intake manifold with carb cleaner and knife. Inside I sprayed with carb cleaner and left it over the night. In the morning  I used high pressure washer with hot water to remove almost all carb from inside. I aslo cleaned egr valve.

Carbon removed from egr valve

Swirl flaps Bmw e83

Then you install flaps back to intake. Connect vacum hoses and install operating rod. ECU still operates flaps so you won’t see any errors on your dash.

Swirl flaps Bmw e83


After clean up and removal of flaps, i noticed nice increase of power and torque. 

I wish I’d took more pictures of procedure, but  my hands were very dirty and my gopro battery was empty.


BMW business cd radio

Posted: 18th August 2015 by viljem_r in Cars,bikes, vehicles, Garage, Start
Tags: , , , , , , , ,

I  own 2007  Bmw e83. It even doesn’t matter which Bmw you own, because Bmw’s are all equipped  with prehistoric business radio. I don’t know where this name came from, because it should be CRAP cd radio.

I bought my first car in 1998 and I must say it had the same headunit in 1988 as bmw in 2008.


Gopro edit from vacation in Cancun

Posted: 21st July 2015 by viljem_r in Gopro, Start

I am or I was big fan of gopro cameras. I had gopro hero hd which was awesome durable camera, so  I bought hero 3 black edition.

I must say that pictures and videos are great. Image quality is very good. I’m using it now for about 2 years.

But here are facts why I’m hating it and sometimes I get very frustrated.

– Very poor battery ( I have 3 batteries and I only had 1 for hero hd)

– Waterproof case is very fragile. I found it cracked so I bought clone for 15 bucks and it is almost the same quality

– Wifi switch is turning on randomly which drains battery very fast, frustrating!!!

– Camera software is still full of bugs

– Camera is overheating

– Wifi remote battery is very poor

– When using Gopro app connection is very very slow

– Camera sometimes random resets settings

– When you take just one photo it is all blurry, but when you use time lapse almost all photos are sharp

– They should publish some updates, but Gopro only wants you to spent fortune again for new camera.

My opinion is that if you spend 400 bucks for pro camera you want to have PRO camera. Not just half product.

I understand that Gopro was pioneer in POV cameras, but they should still make  quality products.

New version are even more expensive and without mounts or remote. They don’t even have some features that users want. They should at least offer remote and some mounts in package for that price.

For 100 bucks now you can buy chinese camera which is very good value for what you will get and need. You will also receive mounts and sometimes even remote. 

Why spend more for camera which is not as it good as it should be.

I don’t know if I will buy another Gopro camera, maybe I will buy Gopro alternatives next time.

Last time I noticed that water is leaking in my case. Lens was all foggy. I’m not having original gopro case, but I had same problems with original case. Gopro 3 cases are not so durable as old cases. My original case cracked so I bought chinese case from ebay. Case is OK, maybe just not as good as original, but worth of money I paid.

I decided to seal a lens with car gasket sealant. It is very durable so it should do the job.

First remove lens:

Gopro waterproof case

Apply sealant:

Gopro waterproof case

Install seals:

Gopro waterproof case

Gopro waterproof case

Add more sealant on the top:

Gopro waterproof case

Install frame:

Gopro waterproof case

Put some sealant on lens:

Gopro waterproof case

Screw back lens ring, do it gently, you don’t want to break the lens:

Gopro waterproof case

Then just clean it with paper towel and leave it for at least 8 hours. Drop case in the water without your cam to check for any leaks.

A lot of opel diesels have problems with Bosch vp44 fuel pumps. Pumps electronic module is crap. It can happen to you that engine will suddenly not start. You can’t just buy it and replace it, you need to rebuild the pump and that costs a lot. So you can to repair electronic module. It is not simple, but you can save a lot of money.

Pump is used in this car models:

http://www.vp44diesel.de/en/vp3044-list-of-cars


When you will connect your obd scanner you should get this dtcs p1651 and p1631 or p1630.

VP44

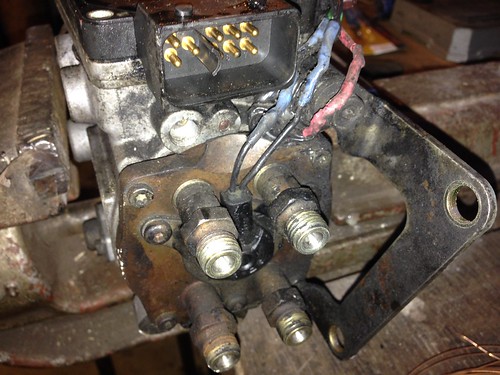
The easiest way is to remove air intake, egr valve, and pump hoses, so you can access pumps electronic.

VP44

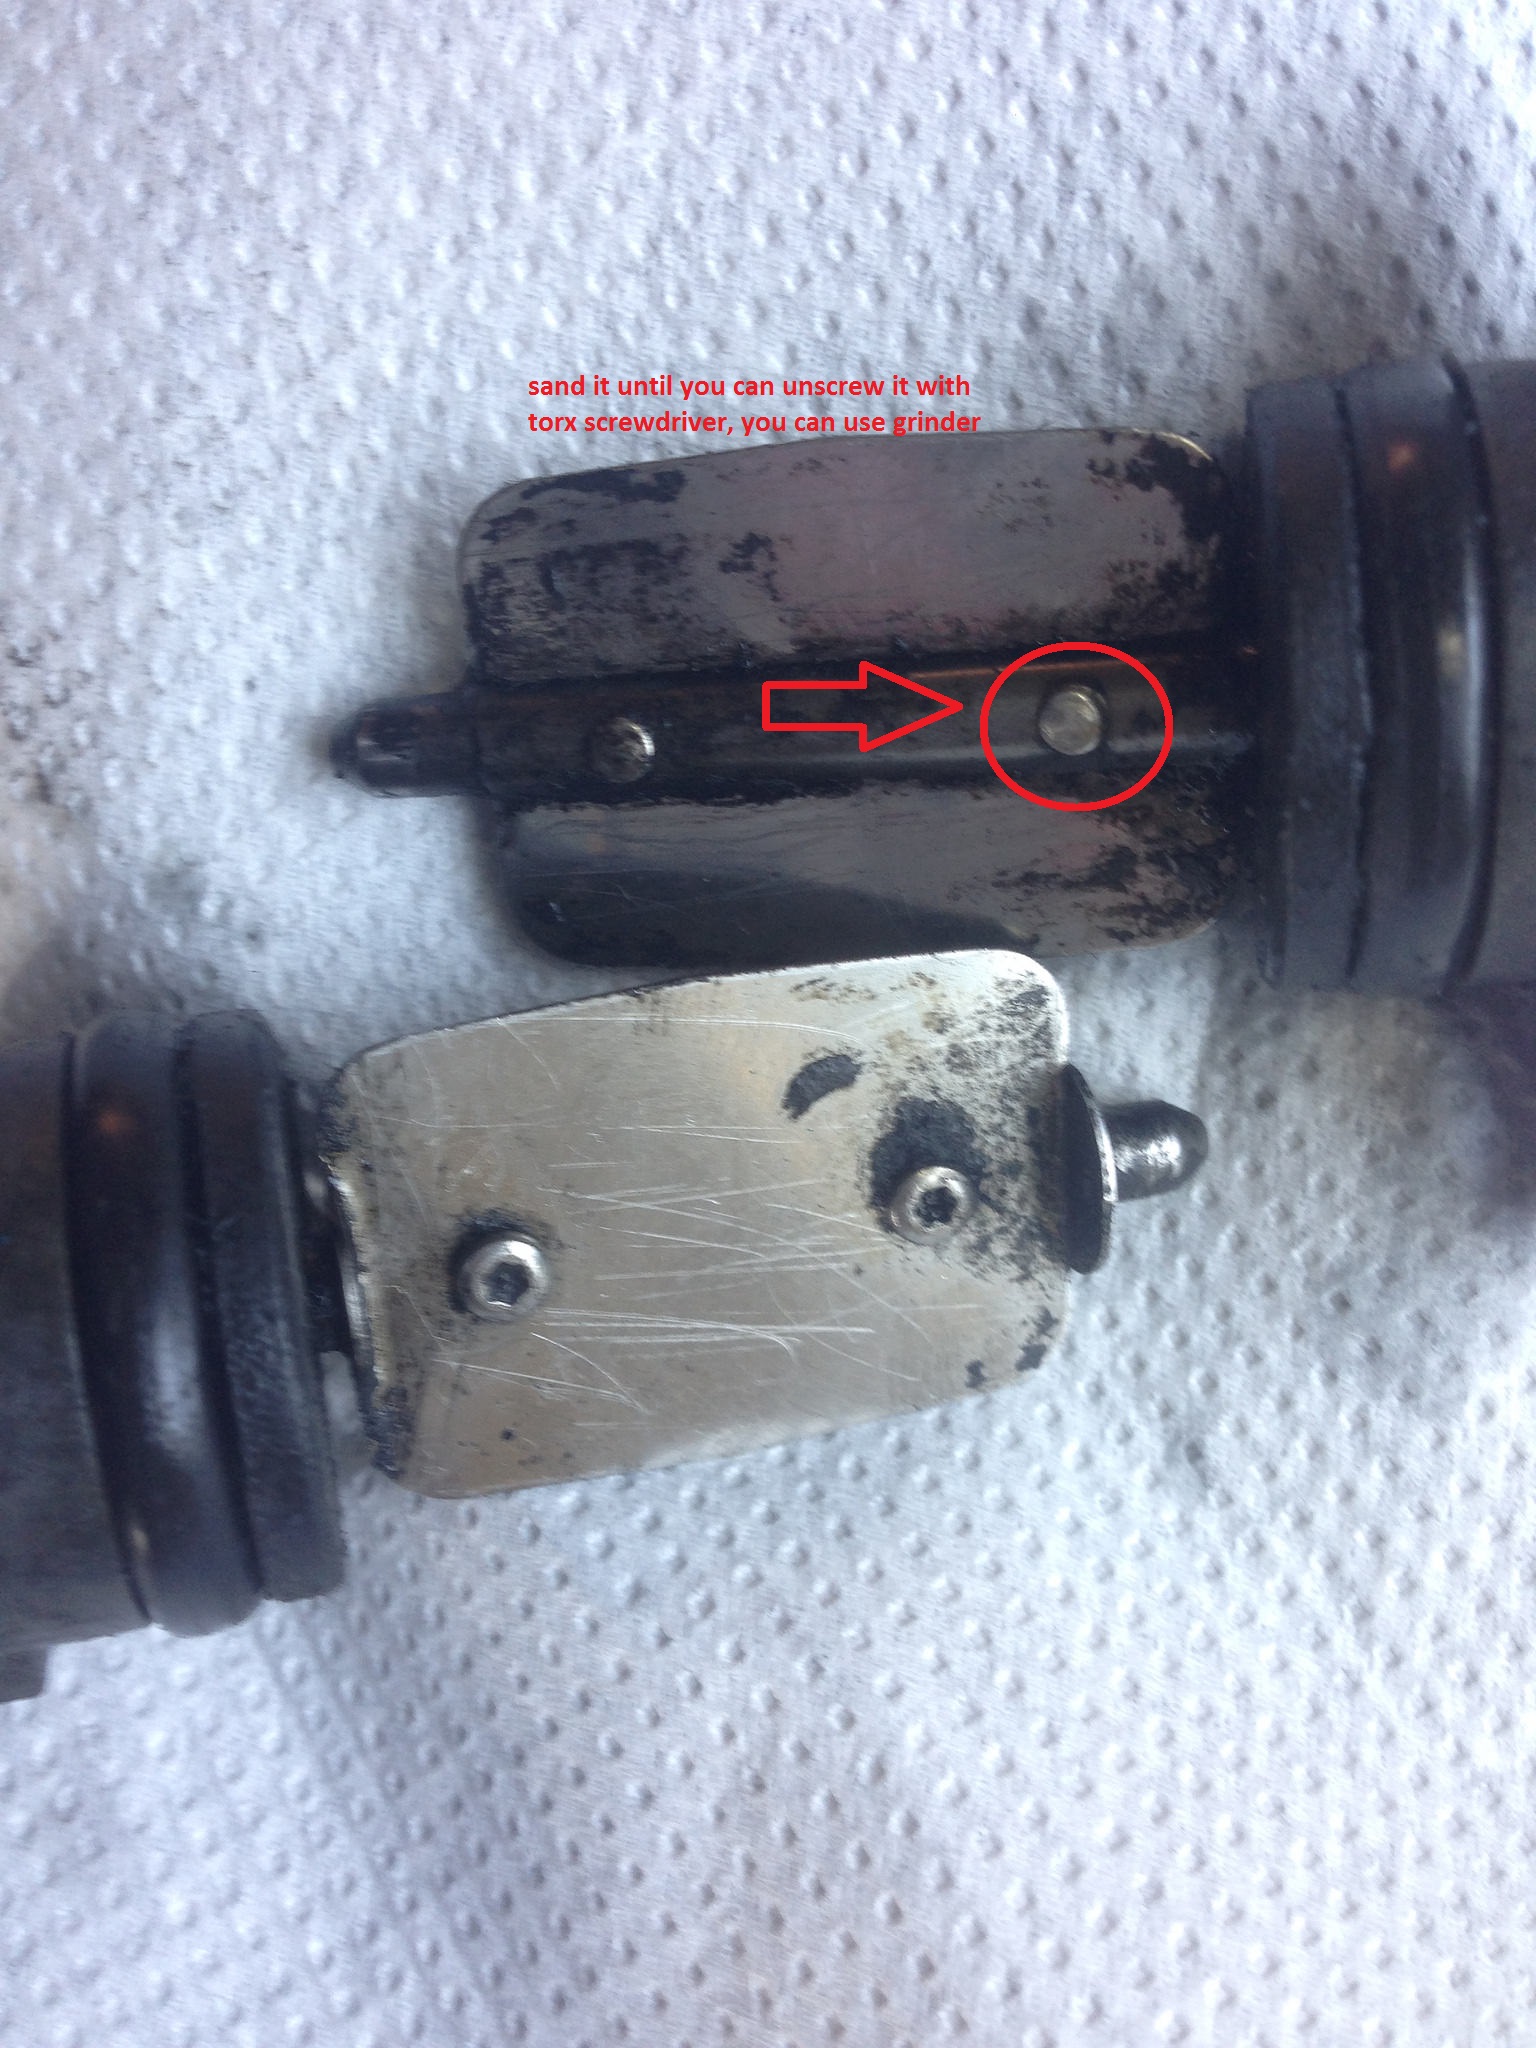
Then you cut all wires from electronics and unscrew torx screws. Gently lift electronic module and you should see under it a flat cable. This sensor measures pump speed. Unscrew it and make sure that screw won’t fall in pump.

It is wise to cover pump and intake with paper, you really don’t want that something falls in pump or cylinder head.

Secure speed sensor with tape, so it won’t hang off the module.

VP44

Then open module very carefully. Don’t even touch sticky gel on electronic, because you can damage tiny wires on them module. On pic you can see problematic fet transistor. On red pads you want to solder wires and than connect them to new transistor from electronics store. You can use IRFZ44N or IRLR2905 FET tranzistor. Maybe the bets option is that you buy SMD FET.

eprom vp44

Make sure you don’t touch anything or damage pads with soldering iron. You should solder it like that.

VP44

VP44

Then seal electronic with silicone and install it on pump. Solder all wires together. Top wires are on top solenoid. You can connect all wires and check for any dtc codes  with scanners.  Also check the bottom solenoid (timming solenoid), because this FET controls this solenoid.

After you installed everything back you need to bleed fuel system. That is quite challenging. You need good battery and start spray or if you pull your car with tractor or car. This only recommended for cars with timming chain. 

After engine was running it didn’t want to start next day, so I had to bleed system once again. Problem is that this car doesn’t have fuel pump in tank, bosch pump sucks  diesel fuel from tank. So it takes some time to get rid off air bubbles in fuel system.


If you need more information about pump and pumps solenoids, check out this guys posts. Very usefull.

http://forums.mg-rover.org/showthread.php?t=466490