Last saturday I finally solved that mistery. I checked belts,tensioners ,water pump and cam shafts. Everything looked OK, but engine still had same diesel sound. you should checked if camshafts are OK, because a lot of Opel engines has problems with camshafts.


After I checked everything I found out that noise is coming from intake manifold. Opel call it twinport.  So I dissmantled it.

First you must remove   engine computer, fuel and water hoses, cables…


Then you will see 2 types of screws. One are for splitting manifold, other attach twinport to engine. You unscrew all of them and split twinport in half. Do it gently don’t use iron hammer. And you don’t want to damage intake gasket.

This is how lower part of twinport looks like:

And upper part:

In lower and upper part of twinport you will see 2 screws, if they didn’t fall out already 🙂 This attacheted part is causing tapping noise ( diesel noise 🙂 ).

I dissmantle it and clean it. The I put some high temperature sealent and screw it on manifold.

Put it together and SOLVED. Petrol engine sounds again like petrol engine 🙂

Another mistery is, how engine can bee so dirty?! Its has just 100 000 km. Oil changes are regular, nothing is leaking! See right side of pic.



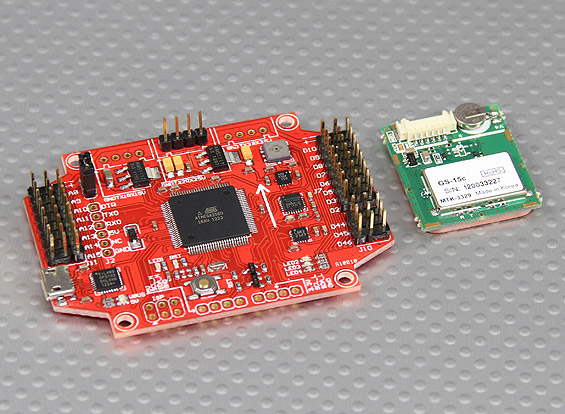
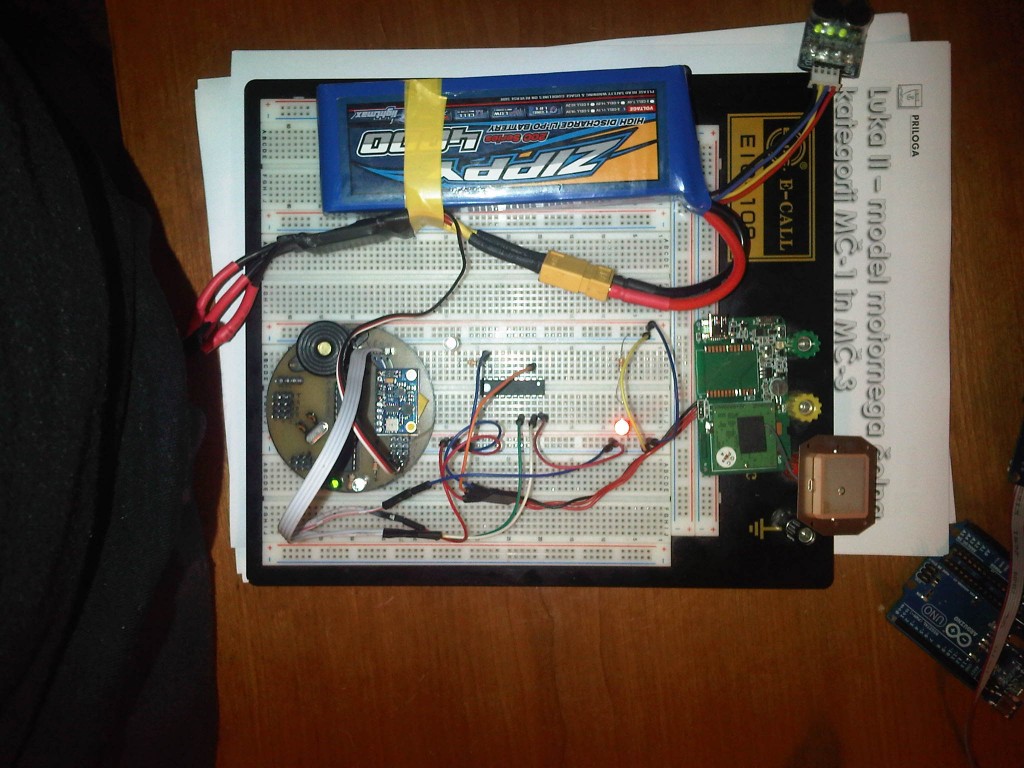
I recently purcashed HK multiwii pro.

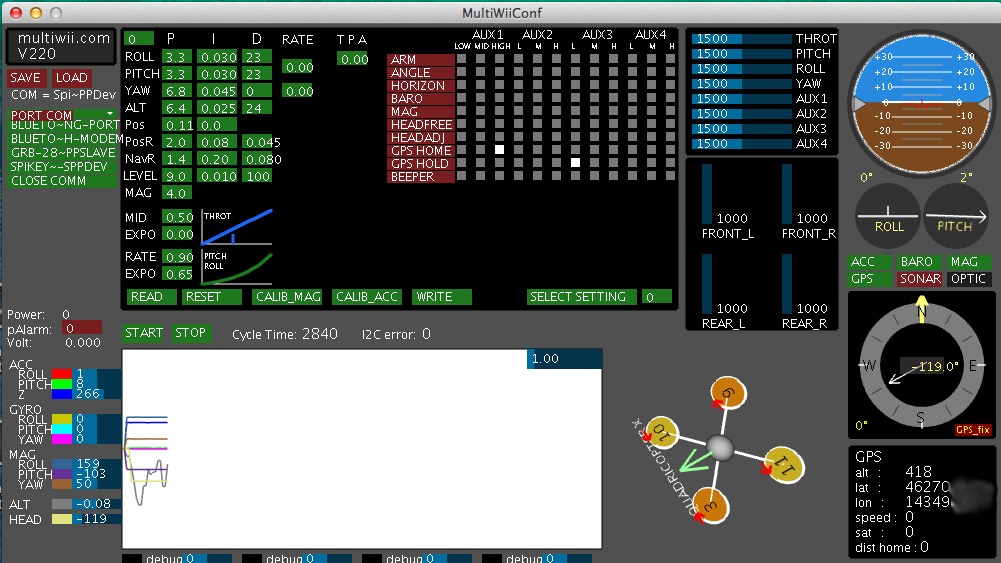
  If you want to change parameters you’ll need to changed them in code with arduino or in multi wii gui. Quite complicated for beginers.


mw


Friend told me that this megapirate fw is awesome for this board. You basiclly use simple APM interface for editing multi wii board.

So I checked all tutorials on internet. And all were sooooo complicated. I spent 1,5 hour just to upload fw to board. But still I wasn’t able to connect.

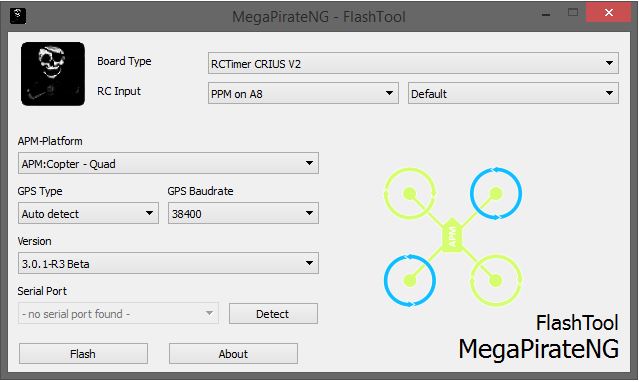
So I found that tool: Flash tool MegaPirateNG

You can upload MegaPirateNG   in 5 minutes. Awesome tool.


flash tool base

Download it here:  https://github.com/MegaPirateNG/FlashTool/releases/tag/1.0rc2

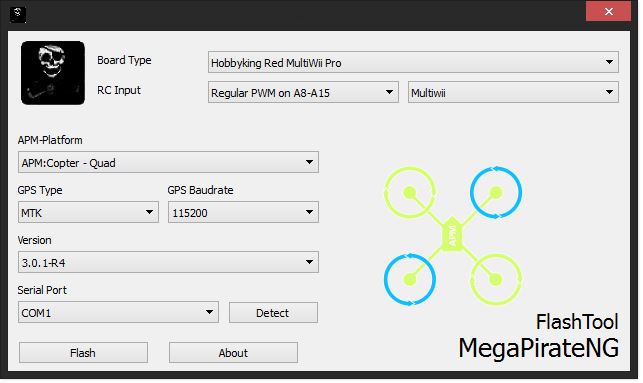
Then you just need to select board type, gps type… For HK board you need to have settings like this:


flash tool

  1. Board type: hk red multii wii pro
  2. Rc input: i have 6 chanel hk receiver so i selected regular pwm and multiwii (if you’ll choose other you will have mixed throtle,jaw…
  3. Apm platform: I was building a quad, so I selected quad
  4. Gps type: you can leave autodetect, but with board came mtk gps
  5. Gps baudrate: I knew that gps baudrate was set to 115200  so I selected this speed. It is better 57600 (less percentage of error), but I had no time and gps works fine. Maybe I will change baudrate later. You must know which baudrate is setted on GPS. If you want to change it, you will need  gps utility.
  6. Version: This was only one available, latest version
  7. Serial port: you can see it in device manager. You will need this usb drivers for board. http://www.ftdichip.com/Drivers/CDM/CDM20814_WHQL_Certified.zip

 Flashing takes you about one minute. Its easy, simple and fast.

Then you download APM mission planer from here http://ardupilot.com/wp-content/plugins/download-monitor/download.php?id=82

Select com port and click connect: You should be able to connect to a board. Then go outside and check if gps is working and if receiver is configured properlly in mission planer.

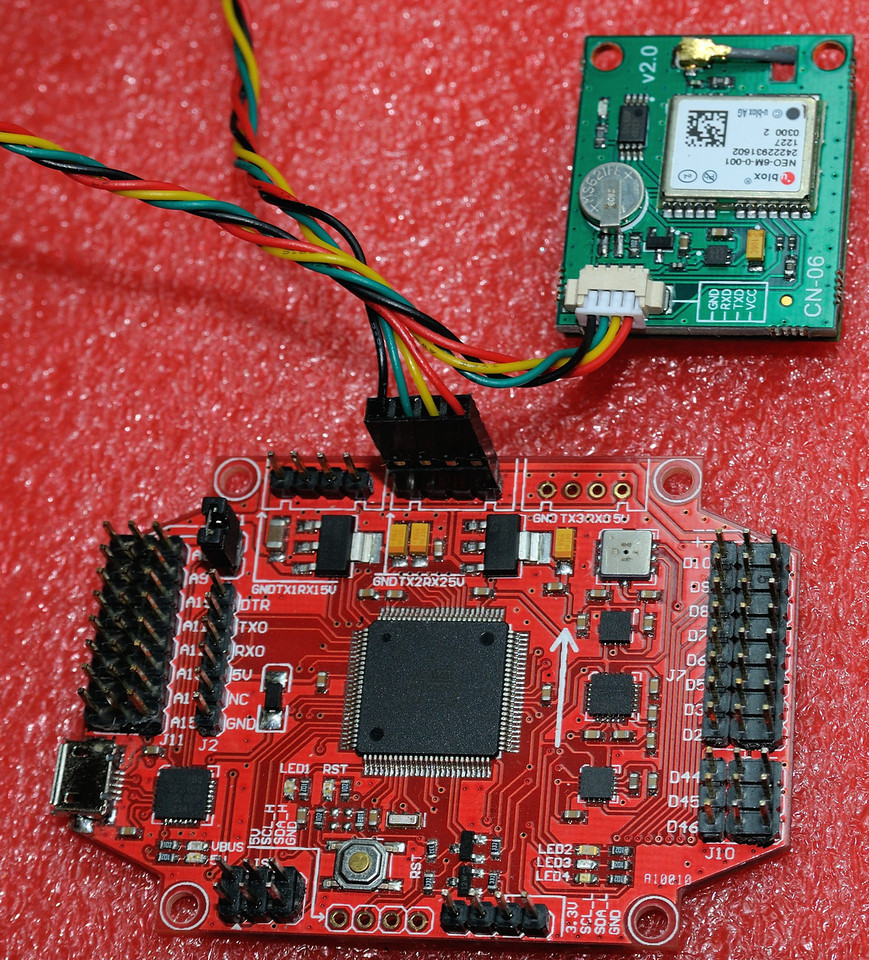
If gps is not working, then is possible that you didn’t connected properly. rx wire should go on tx on board and tx wire from gps receiver should go on rx on board. See pic bellow. If that doesn’t help, change baudrate and flash again.

i-5WsBS4d-X2


All you need now is some fine tunning  and to calibrate board.  I will explain that in other posts.


Working in woods-movie

Posted: 3rd April 2014 by viljem_r in Gopro, Start
Tags: , , , , , , ,

Checkout this page, for multi wii, with wayfinder gps. Awesome work.


MultiWii + serial 1Mhz GPS


Kranj-20140325-00325-1024x768

Screen-Shot-2014-03-30-at-21.37.22

via MultiWii + serial 1Mhz GPS | spikey.si.

After I broke plastic too many times, it was time to make so kind of protection.

WP_20140221_001.jpg

Then I bought some steel tubes and start bending them.

WP_20140222_001.jpg

Then I started welding on ATV rear bumper

WP_20140222_005.jpg

Finally ready for paint

WP_20140228_19_09_01_Pro.jpg

This is how it looks at the end.

WP_20140306_001.jpg

Sym blow off

Posted: 5th March 2014 by viljem_r in Cars,bikes, vehicles, Garage, Start
Tags: , , , , ,

They say loud pipes, saves lives 😉

Snowboarding in France

Posted: 20th February 2014 by viljem_r in Garage, Sport, Start
Tags: , , ,

Mountain road to Pokljuka

Posted: 4th February 2014 by viljem_r in Start
Tags:

Mountain road to Pokljuka, with gopro hero hd on front bumber

Here is how you install hour meter on ATV. It is usefull to monitor service intervals.


On back  is good user manual. It is really simple to install it.

First I removed ignition coil, because it was easier to wrap wire on ignition cable. Then wraped wire 5 times and secured it with zip tie. Also I wraped it with tape. Make sure you wrap wire as close to igniton coil as you can. That means you will avoid heat from engine.

I mounted on dash, that was the most suitable place for it.

You can mount it on gas engines, like lawnmovers, atvs,motobikes…

How it works?

The ignition cable inducts electricity on wraped wire. That is why you need at least 5 turns.

Here is nice video how igniton works:

And more scientific explanation of electromagnetic induction between 2 wires

Another video made with helmet spinning camera and gopro hero 3 black.

How i made spinning camera

http://vrcustoms.wordpress.com/2013/02/24/spinning-helmet-camera/

Here is video.