ATV \ QUAD airbox mod

Posted: 8th November 2013 by viljem_r in Cars,bikes, vehicles, Garage, Start
Tags: , , , , ,

After I did some mods to my carburator keihin cvk, I heard strange noise under my sit. I figured out that my ATV needs more air. I tried to drive without airbox cover and motor runned much better.

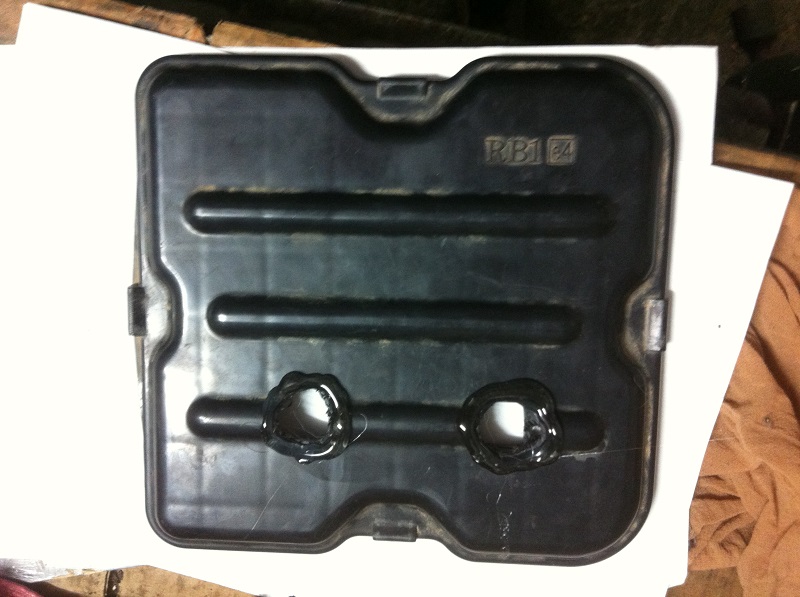
With limited space I couldn’t just change intake tube, so I drilled 2 25mm holes.

lukne

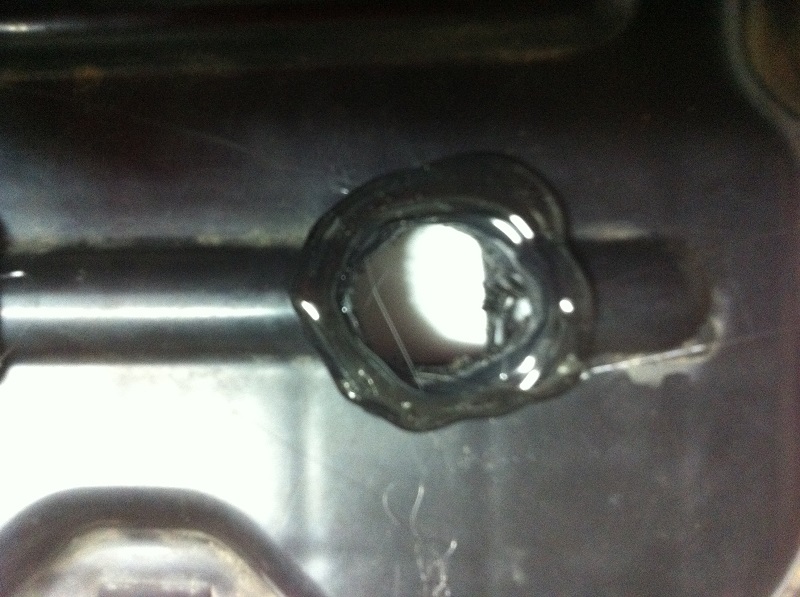
Around holes I put some hot glue, so water can’t go directlly in airbox.

glue

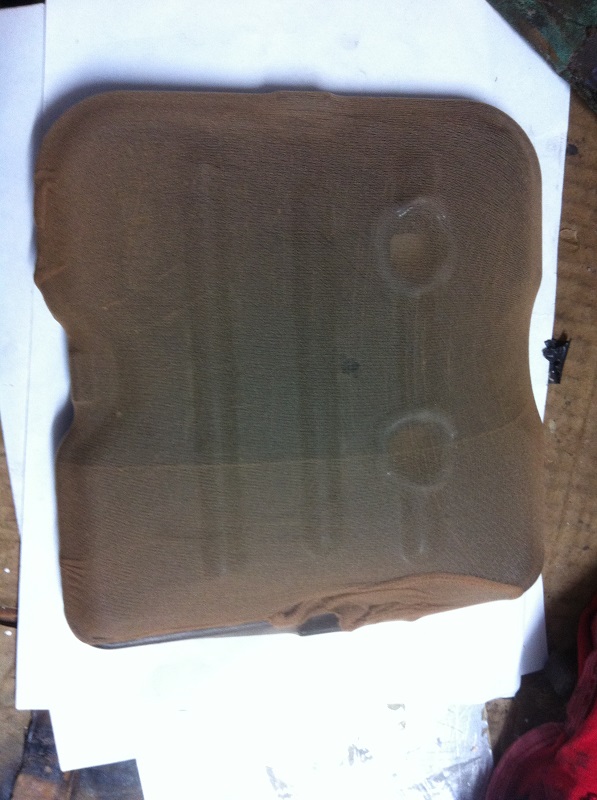
Wrapped airbox cover with nylon socks, so dust and stones can’t be sucked directlly in airbox.

nylon

This is how it looks in the end. There are much better acceleration and power.

complete

After drilling holes you must adjust carburator with mixture screw!!!

Downhill

Posted: 4th September 2013 by viljem_r in Gopro, Sport
Tags: , , , , , , ,

Gopro + tube mount+hill + forest. Check out video

funny video on the beach in DR

Posted: 28th August 2013 by viljem_r in Gopro

Autocom cdp

Posted: 13th August 2013 by viljem_r in Cars,bikes, vehicles
Tags: , ,

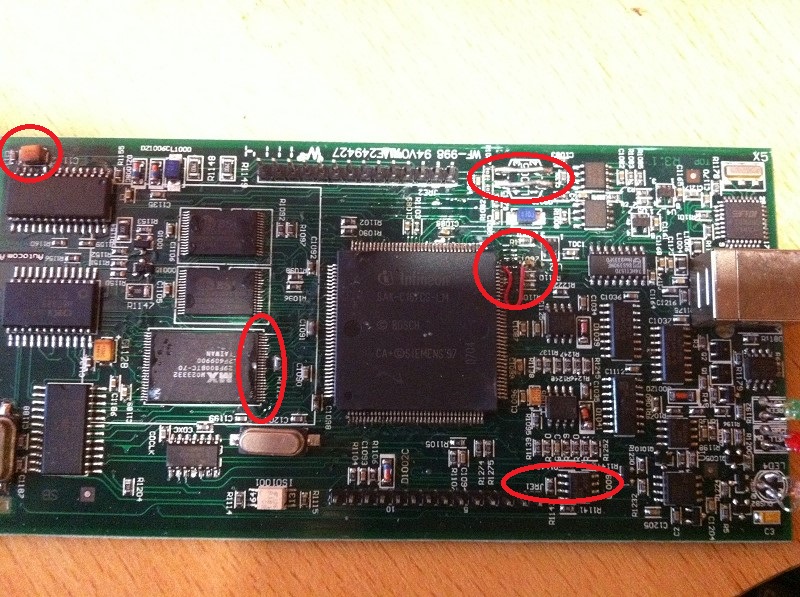
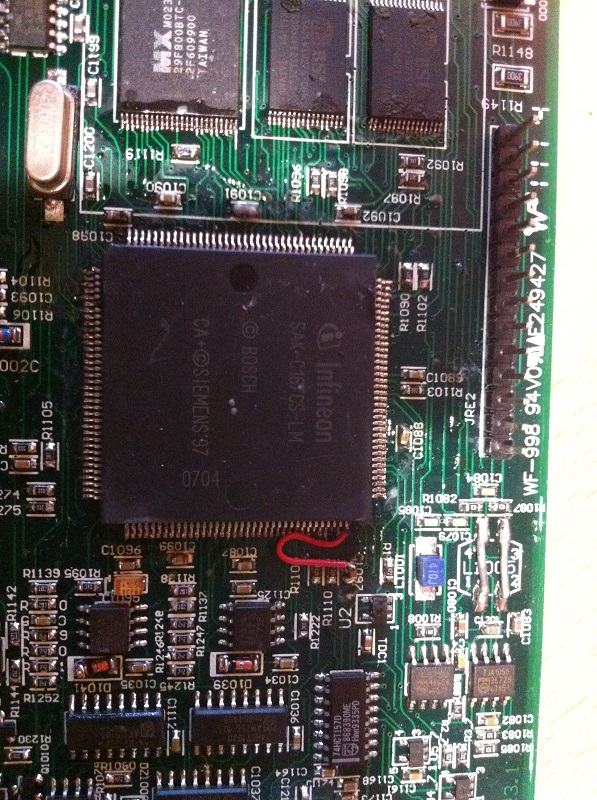
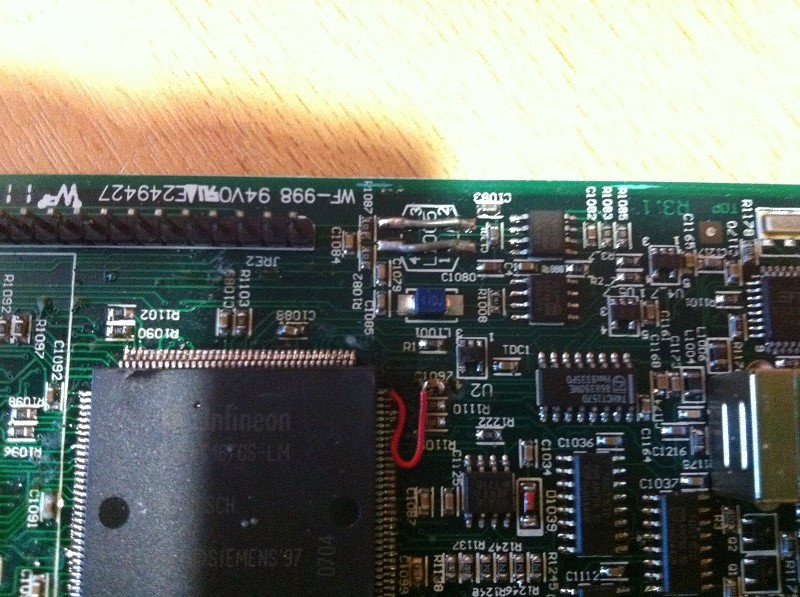
I bought autocom cdp clone. Should be one of best versions. But I couldn’t upgrade it to newer firmware, so I decided to open it.

I almost fall on my back. So fu**kd pcb board!!! But you won’t believe that device actually works. I guess I will spend some time solder it :S

2013-08-03T13-26-06_3 2013-08-03T13-26-06_1 2013-08-03T13-26-06_2

Nutball

Posted: 13th August 2013 by viljem_r in Start
Tags: , , ,

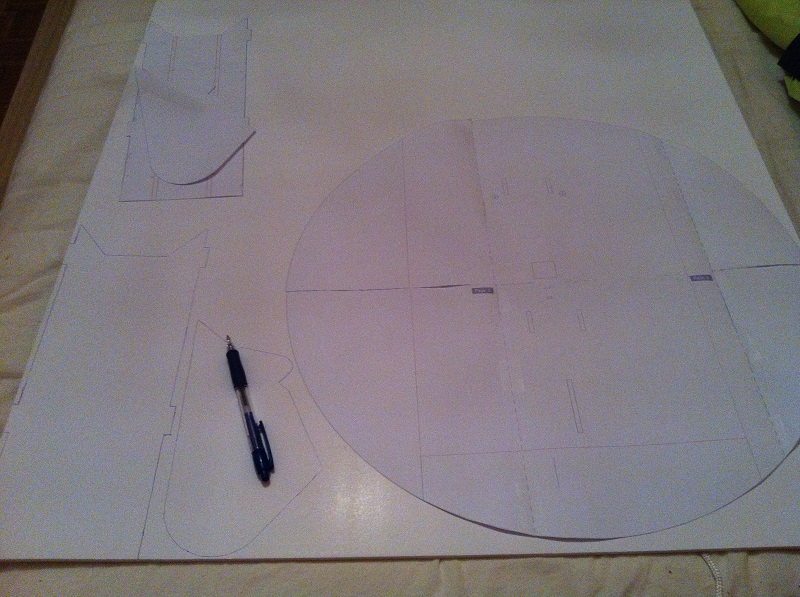
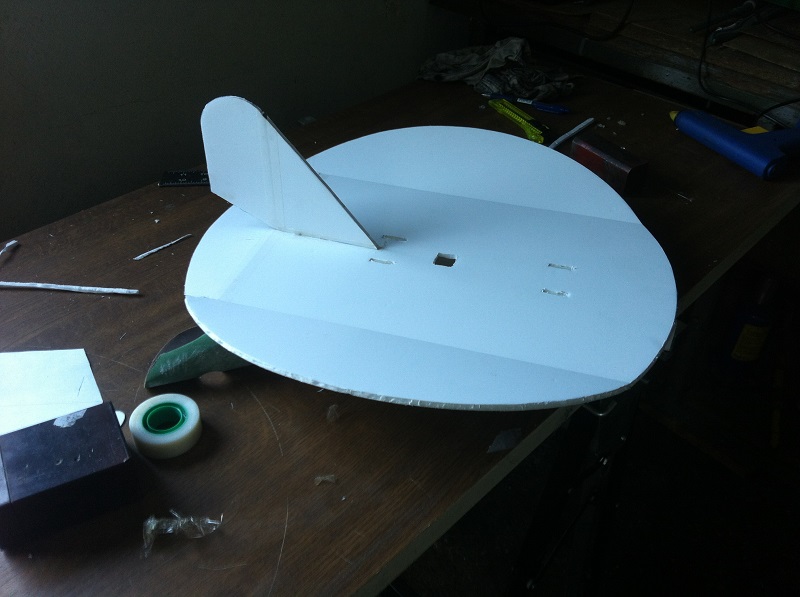
I found this funny plane on flitetest. Its simple and cheap.

Cutting parts from foam:

2013-07-12T15-43-18_9

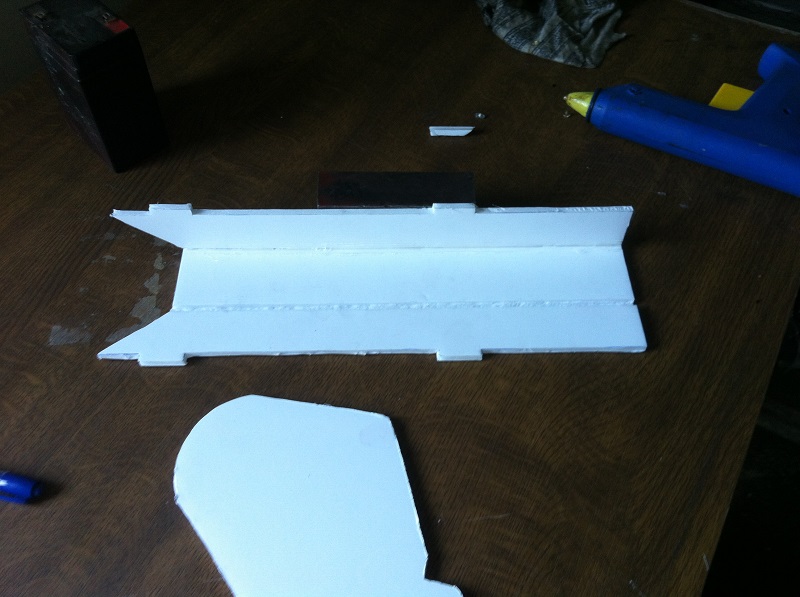
Then making power pod.

2013-07-12T20-03-49_2

Then body and wings:

2013-07-12T20-03-49_5

I used this parts:

Turnigy Multistar 20 Amp Multi-rotor Brushless ESC 2-4S         
D2822/17 Brushless Outrunner 1100kv         
HobbyKing HK6DF 6 Channel 2.4ghz Channel Receiver         
Turnigy 800mAh 3S 20C Lipo Pack
Turnigy Battery Strap 330mm

For more info check flitetest site:

http://flitetest.com/articles/nutball-scratch-build

I replaced rear speakers and installed amplifier and woofer in my toyota. Sound was awesome. Then some day I was tired of sound from front speakes. Stock speakers are shit!

So I bought new hertz speakers. They weight and look like all speakers should.

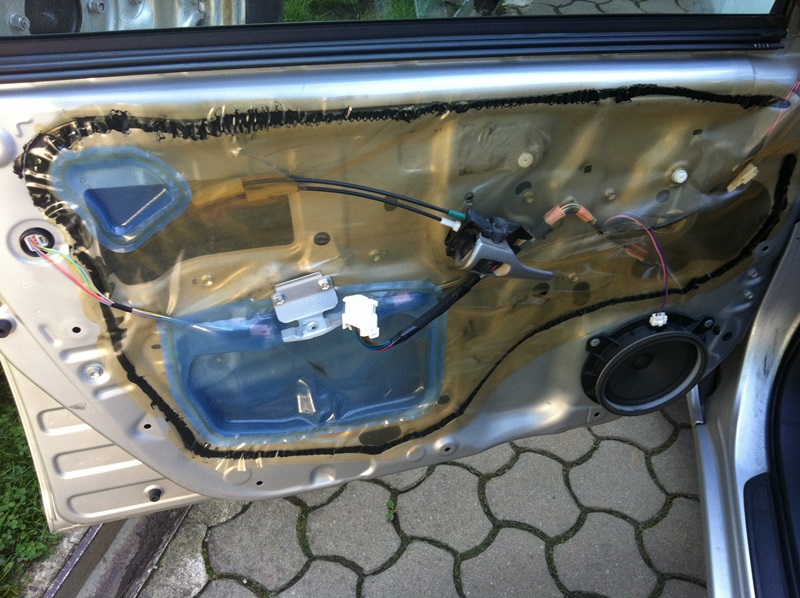
I removed door panel. You have to unscrew 2 screws. Than you just pull it off on the bottom and go up the panel. Make sure you do it carefully! Its simple, I love that in Corolla. Simple and usefull.
panel

Then I saw rubish stock speaker. I cutted wiress and soldered new faston connectors.

It was time to drill.
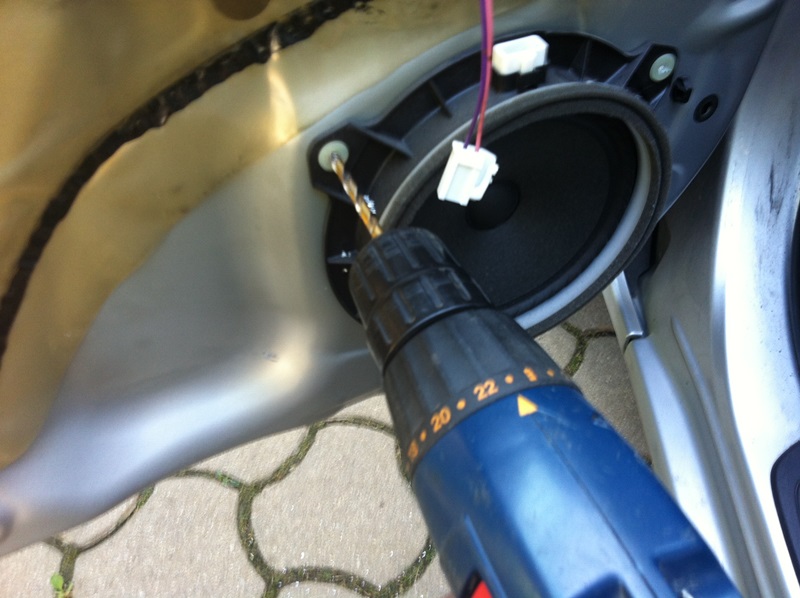
svedr

Make sure you’ll remove all junk from doors, cause I don’t like strange voices in my doors 😉

You can compare 2 speakers. I would give award to toyota, cause I can’t understand how such a speaker can provide so much noise 😀 RUBISH!!
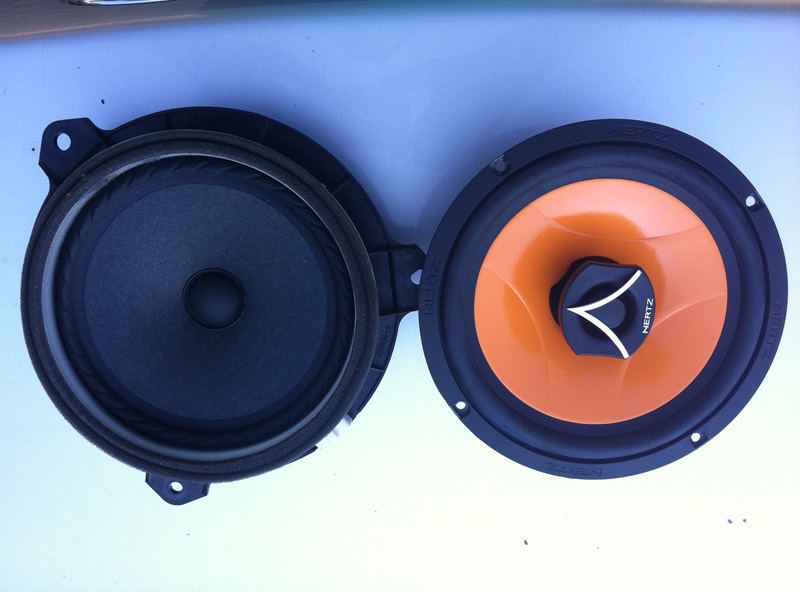
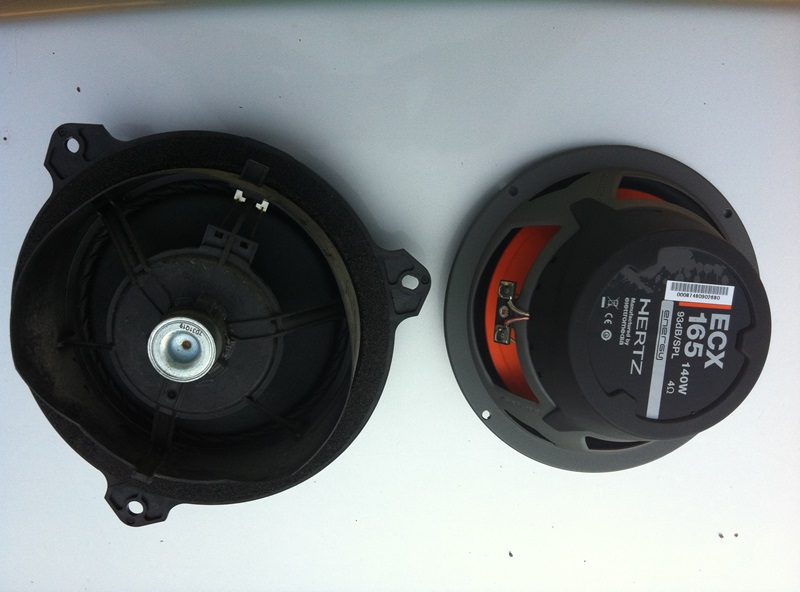
spred

zadi

I could mount them directlly to door, but I wanted more space for better sound. I needed speaker spacer rings. I don’t like plastic ones, cause I spent more time to modify them, then if I make new from wood.
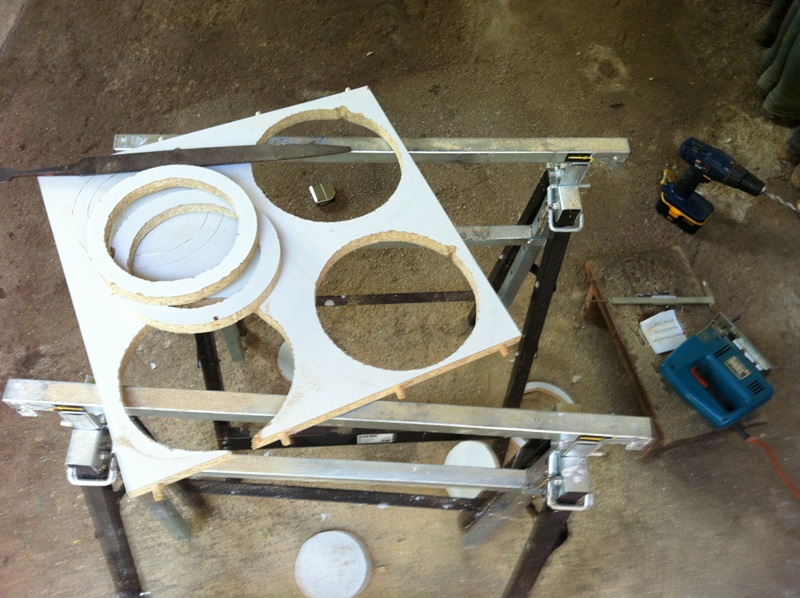
dist (2)

Dimensions are  180mm outside, 140mm inside and 19 mm. I also painted them.

Then I had to drill new holes in door panel. This is tricky job, especially because original hole is big, approx 155 mm.
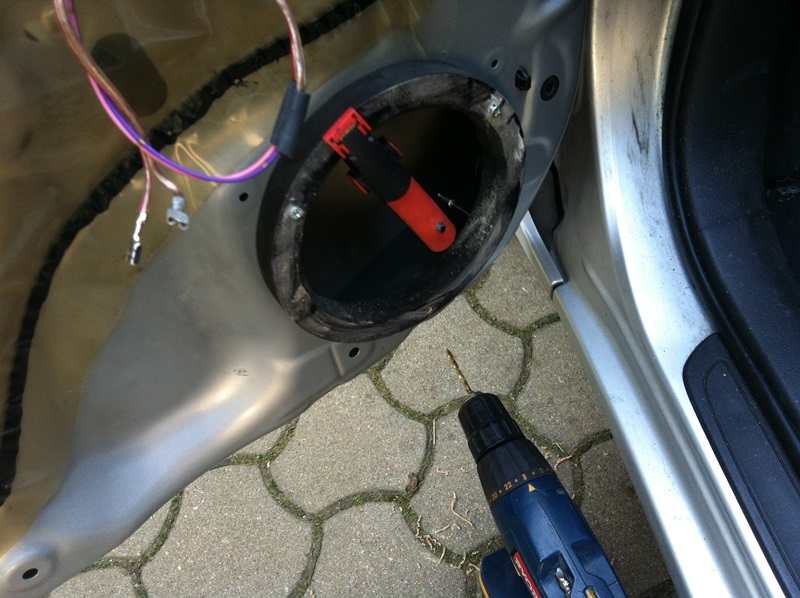
dist

Then I mounted speakers and forgot to take picture 🙂 But it is not done yet. I also removed stock tweeters, cause they are rubish. And they are connected paralel on speakers. So if you’ll removed them you won’t hear anything! But if you’ll leave them as they are you won’t get such a clear sound.

So I shorted this pins on tweeter connector ( i didn’t want to cut wires, so I can install stock speakers if I’ll sell the car). And make sure you won’t connect back your stock tweeters! You can damage your headunit!
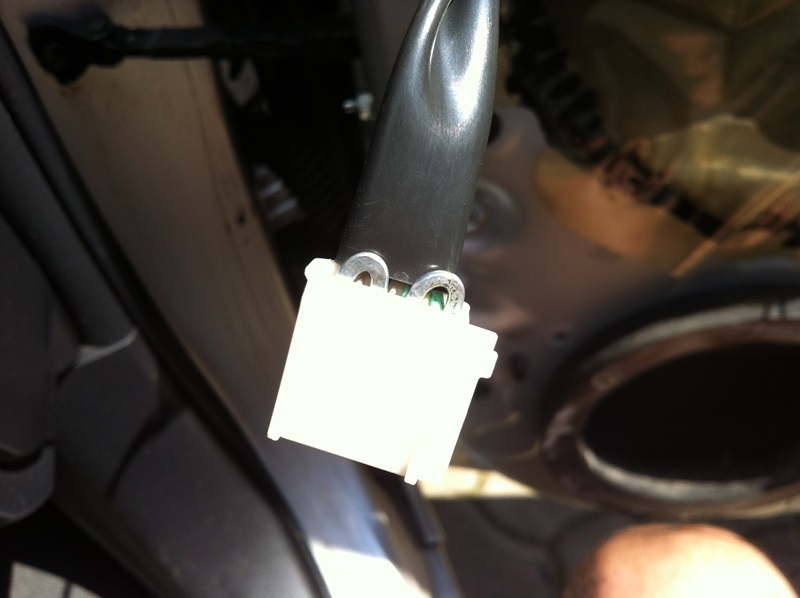
brika

Then I tested and later installed door panel. It fits perfectlly, without any modifications.

You are probablly noticed that I hate cars stock audio 😀

I f you like thsi post share it, like it, donate.. Maybe can be usefull to someone 😉  Invent 😉

[contact-form][contact-field label=’Name’ type=’name’ required=’1’/][contact-field label=’Email’ type=’email’ required=’1’/][contact-field label=’Website’ type=’url’/][contact-field label=’Comment’ type=’textarea’ required=’1’/][/contact-form]

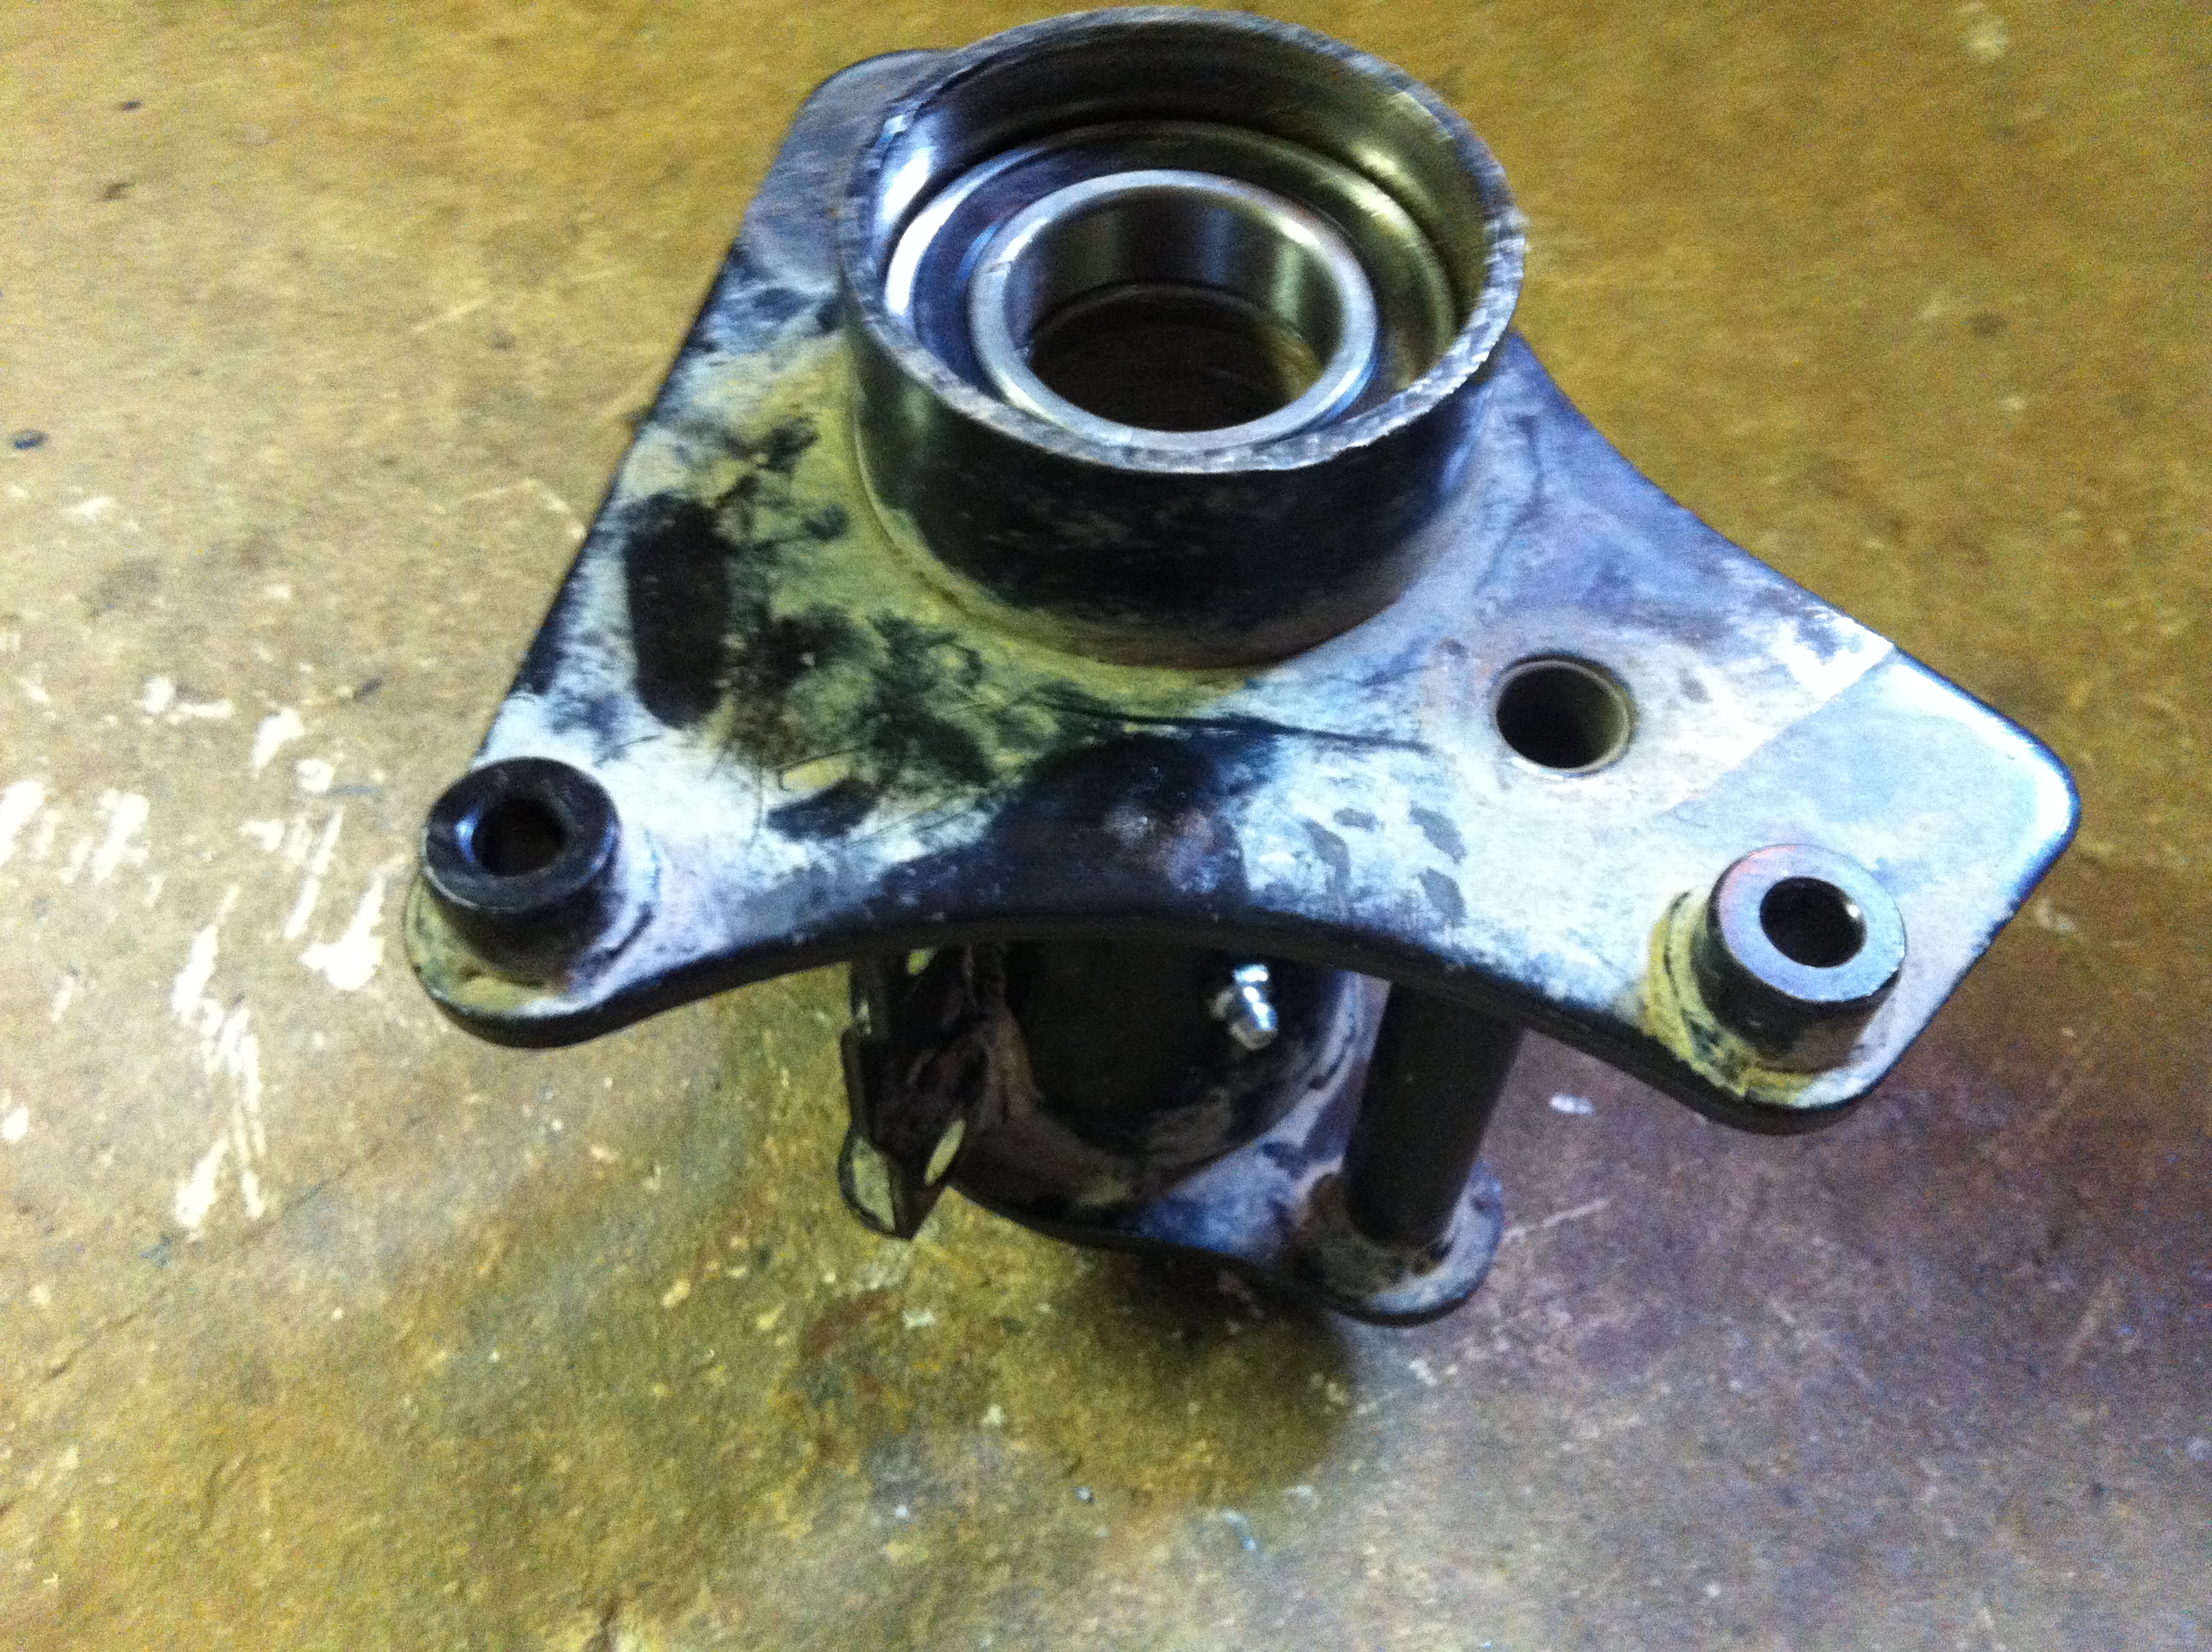
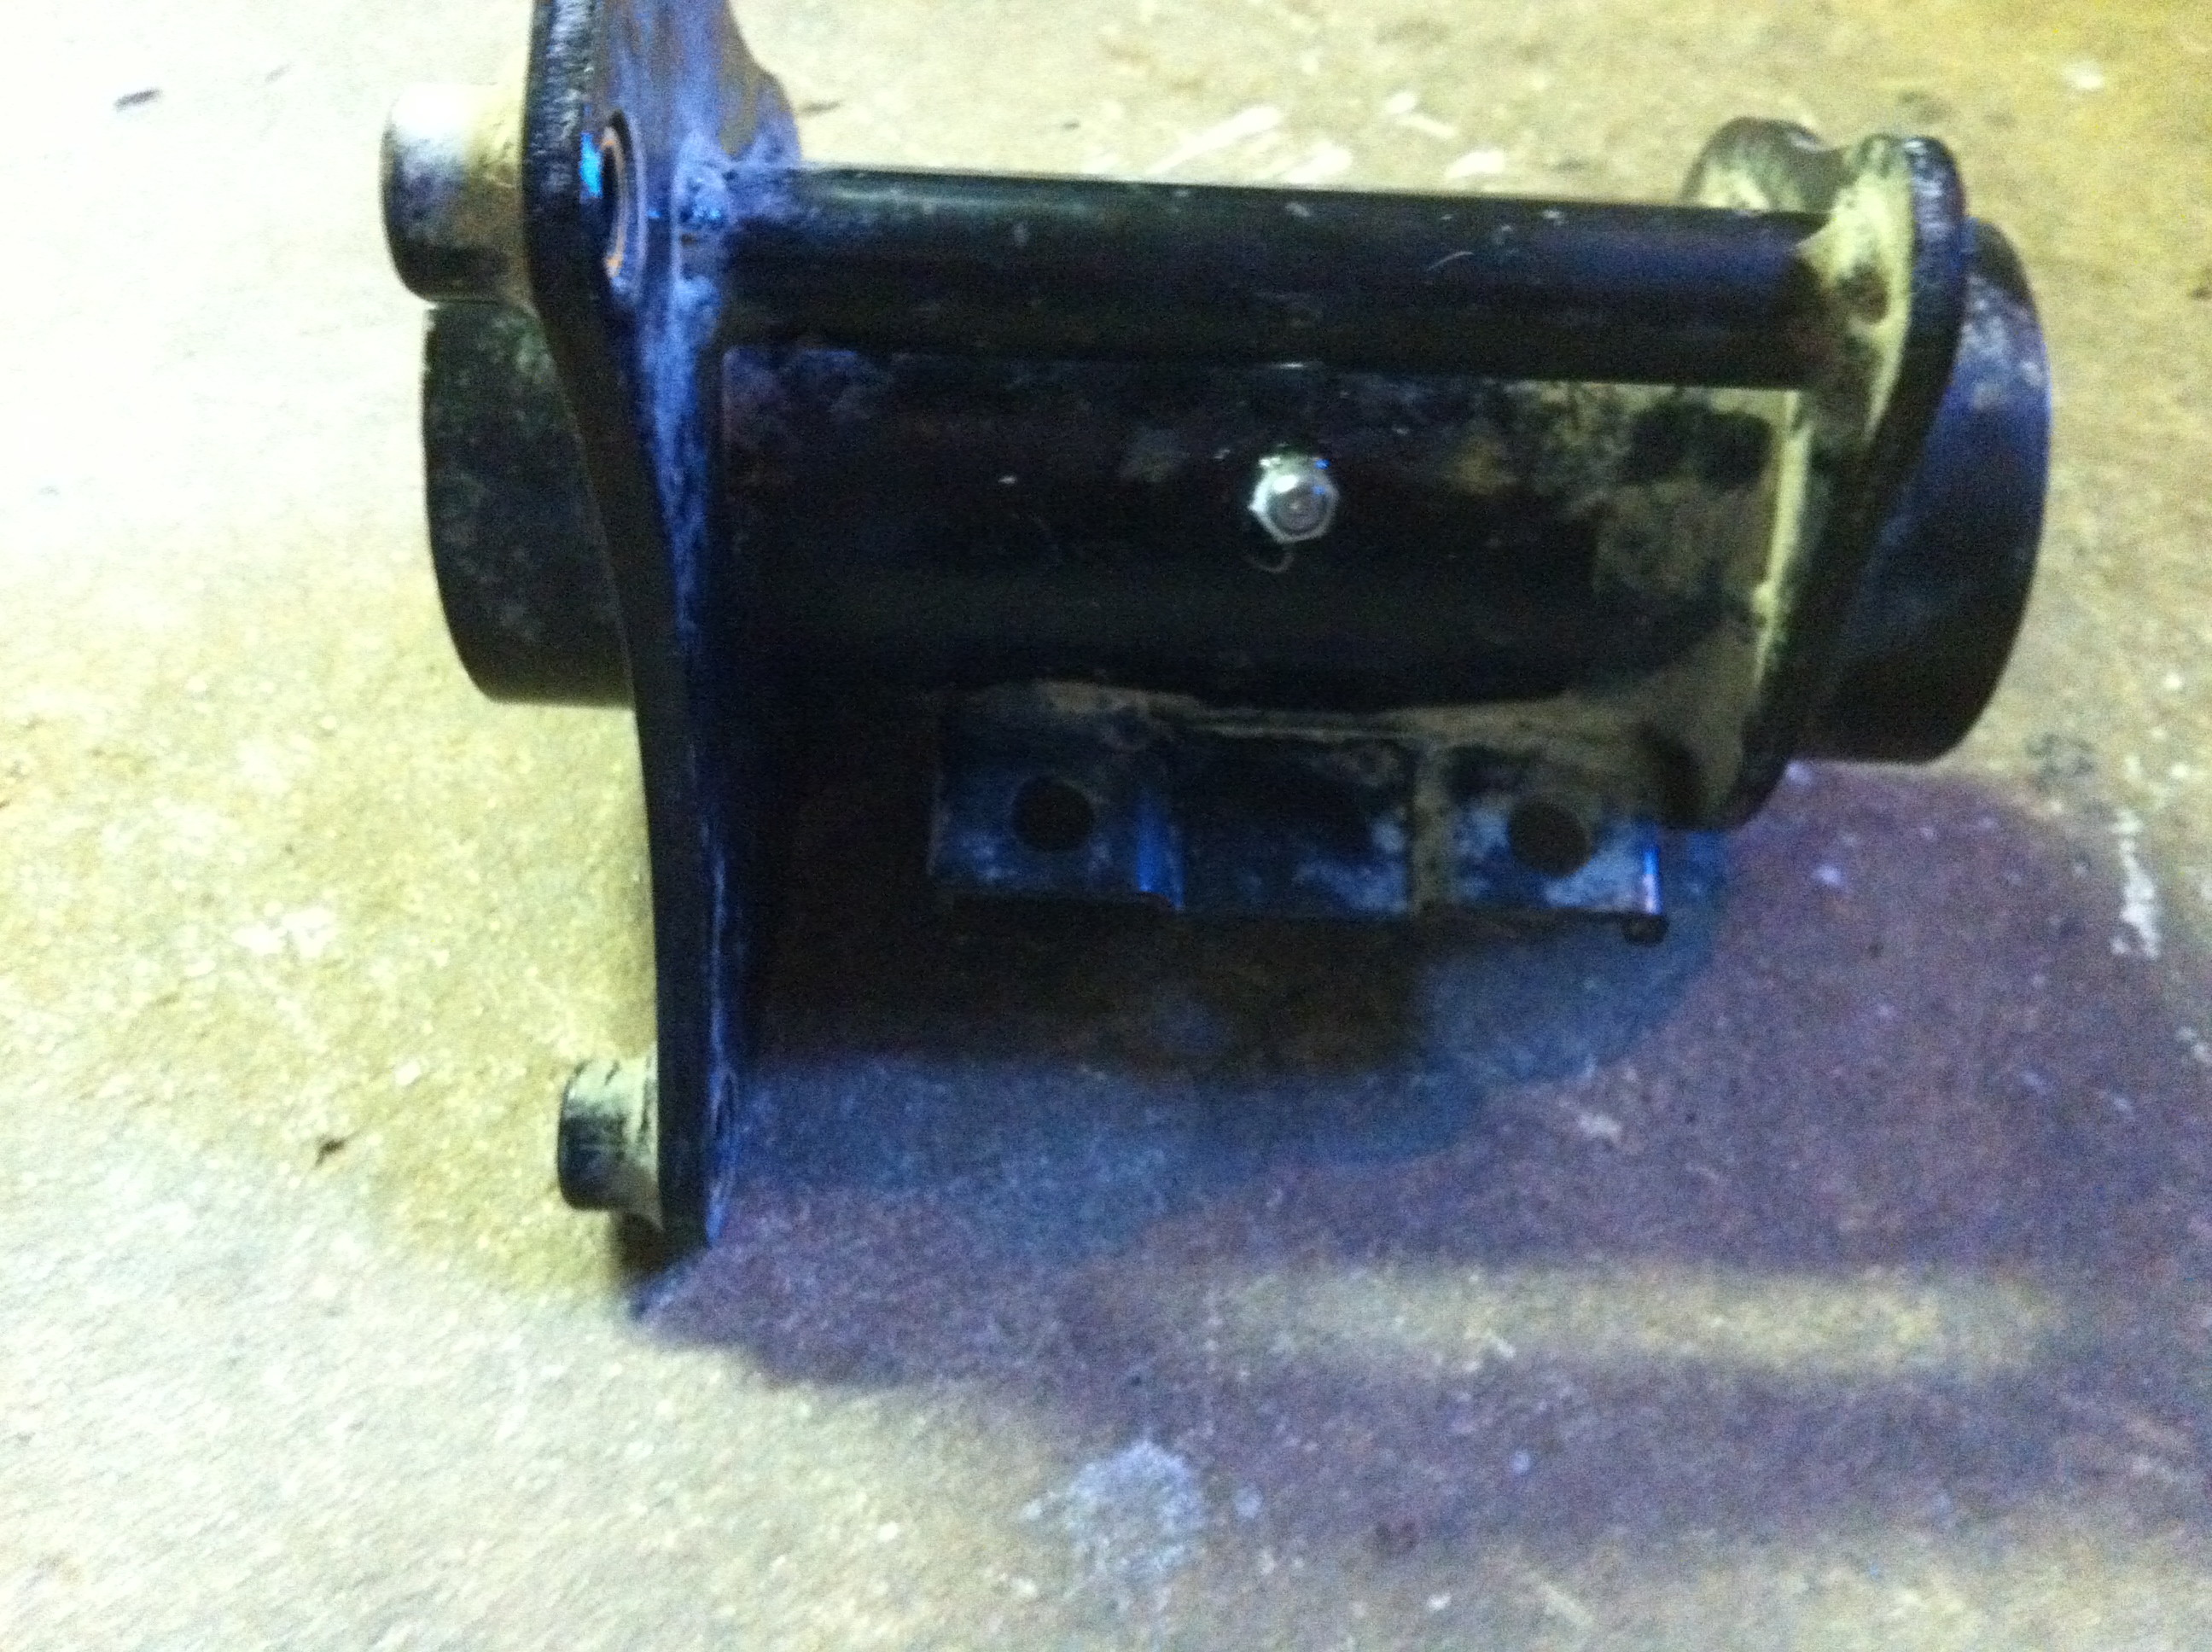
It’s never boring in my garage. Water and dust, not good combination for metal parts. I had to replace bearings and dust seals on friend’s atv.

You have to dissmantle rear axle, remove brakes, remove chain.  Then remove rust from metal parts and then istall bearing carefully.

2013-07-10T12-21-23_3

I also drilled hole and add this grease fitting. That means that you can add grease when ever you want.

2013-07-10T12-21-23_2

New rc project

Posted: 4th July 2013 by viljem_r in Quadcopter, Start
Tags: , , , , ,

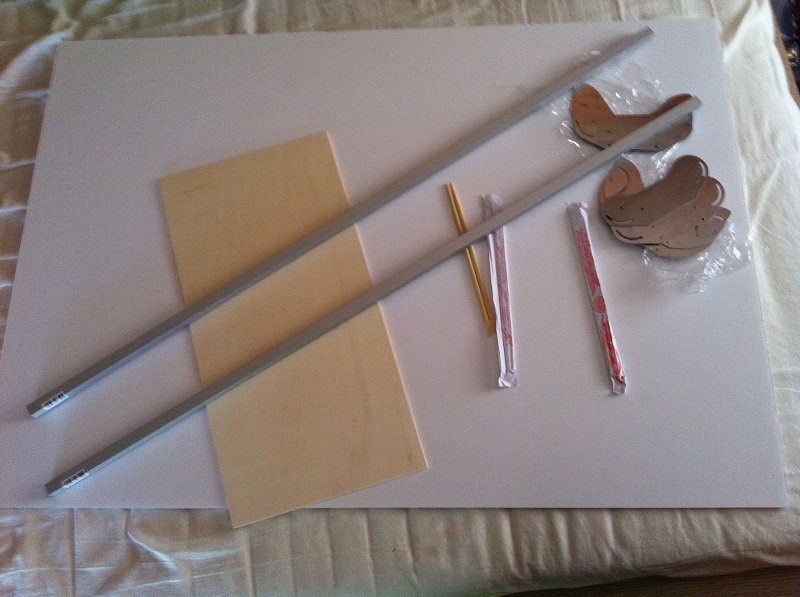
Time to build something new… Some parts received, other on the way.

roba

If you like my blog you can donate for more cool projects 😉 Tnx

quadcopter pilot

Posted: 27th June 2013 by viljem_r in Quadcopter, Start
Tags: ,

????????????? ????????????? ?????????????

H-quad ver 2

Posted: 18th June 2013 by viljem_r in Quadcopter, Start
Tags: , , , ,

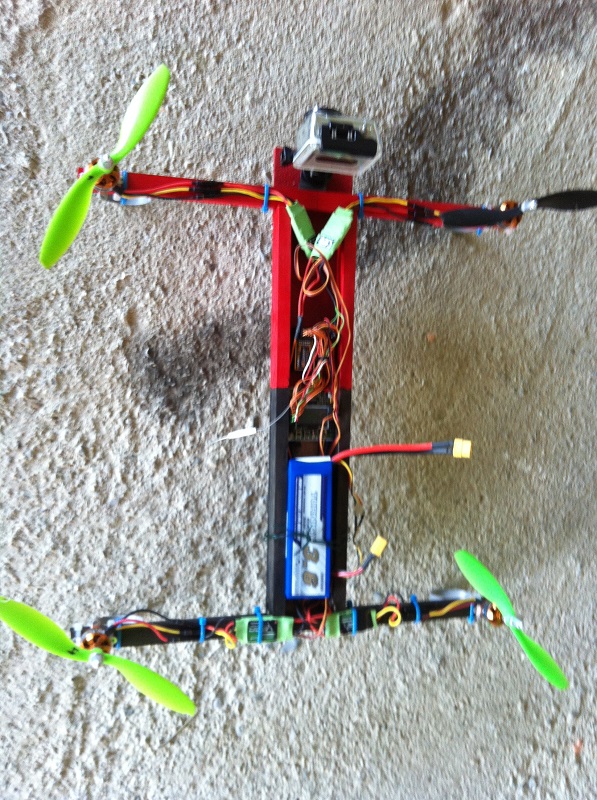
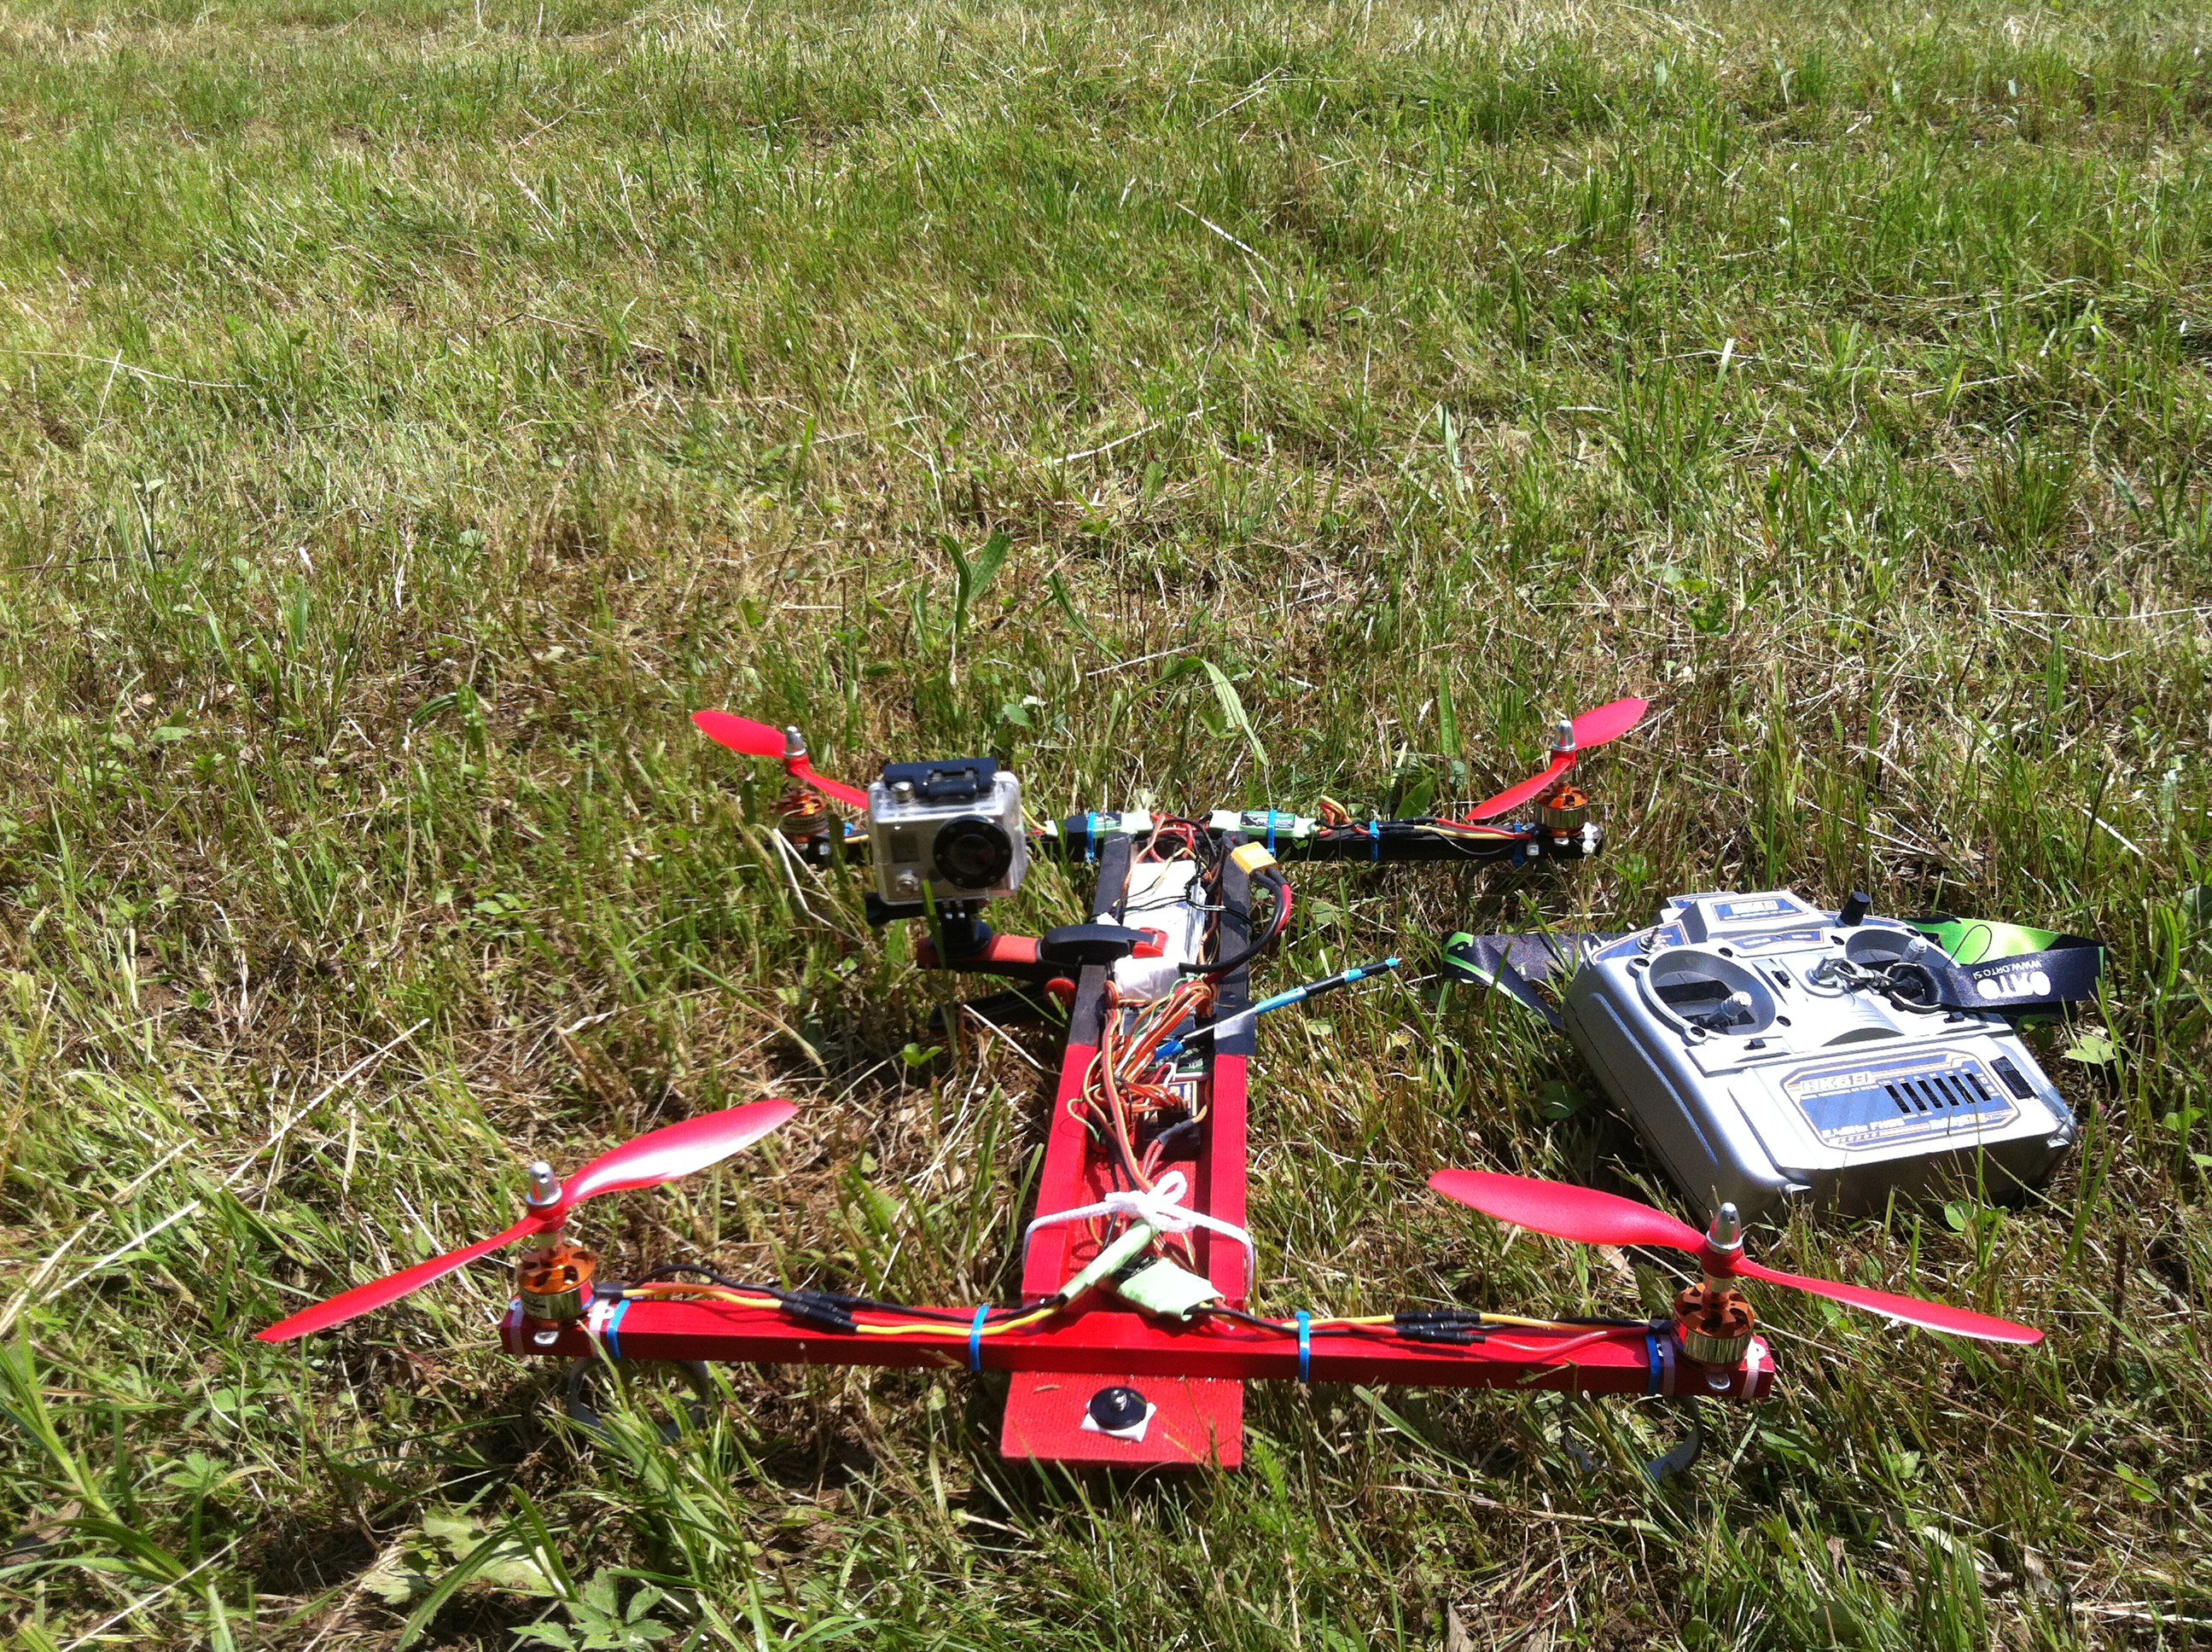
After first H quad, which was not so good, I decided to build new one. Old fatso burned in flames J

I get measures from flitetest. So my is almost same dimensions as one from flitetest.

More inf:

http://flitetest.com/articles/H_Quad_Scratch_Build


It’s lighter and bigger.

quad prvič

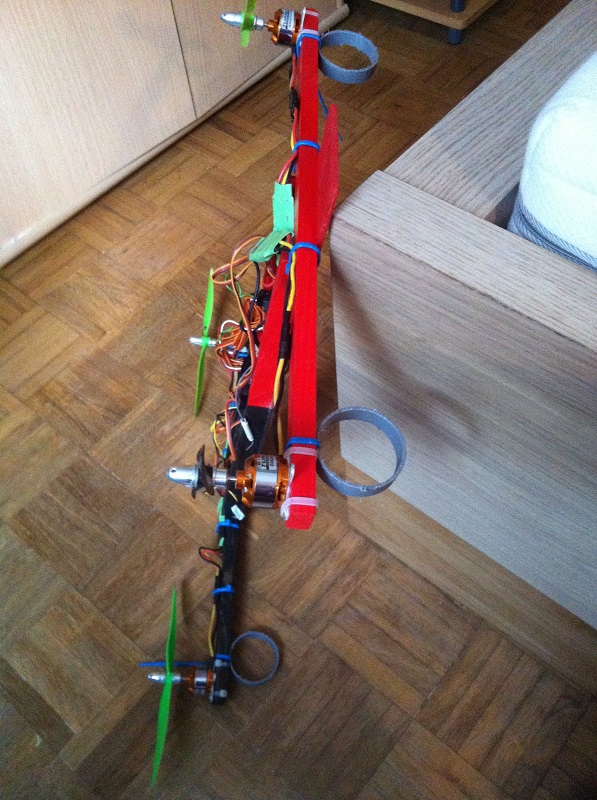
For landing gear I used plastic tube. It does job superblly.

quad

In the action…

2013-06-18T13-24-20_1

Needs some covers, but it flies awesome. I recommend this frame for all who want to use quadcopter for FPV.