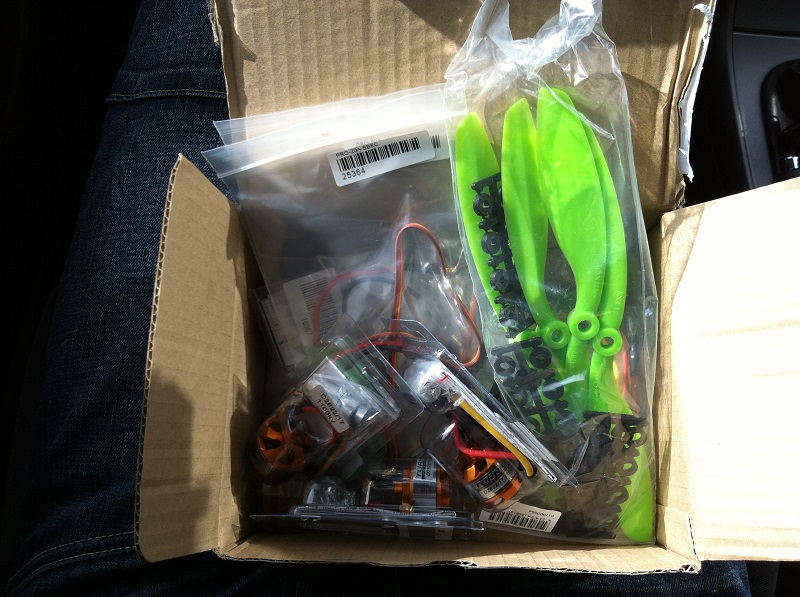
Found some time and edit few videos.
First flights compilation
Posted: 17th June 2013 by viljem_r in Quadcopter, StartTags: gopro, quadcopter
H-copter frame
Posted: 6th June 2013 by viljem_r in Quadcopter, StartTags: air, esc, fpv, frame, gopro, h-copter, hobby, hobbyking, motors, multirotor, quadcopter, r/c, wood
After some flight I decided to built my own frame. H copter should be more stable in the air. Also more convenient for FPV and Gopro.
I built H frame from wood, bought in local store. You should always have in mind, that frame should be light.
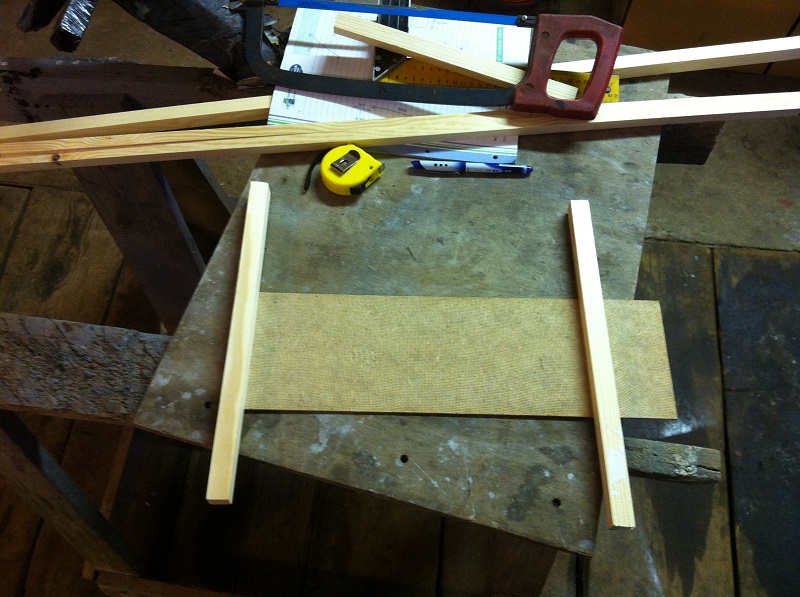
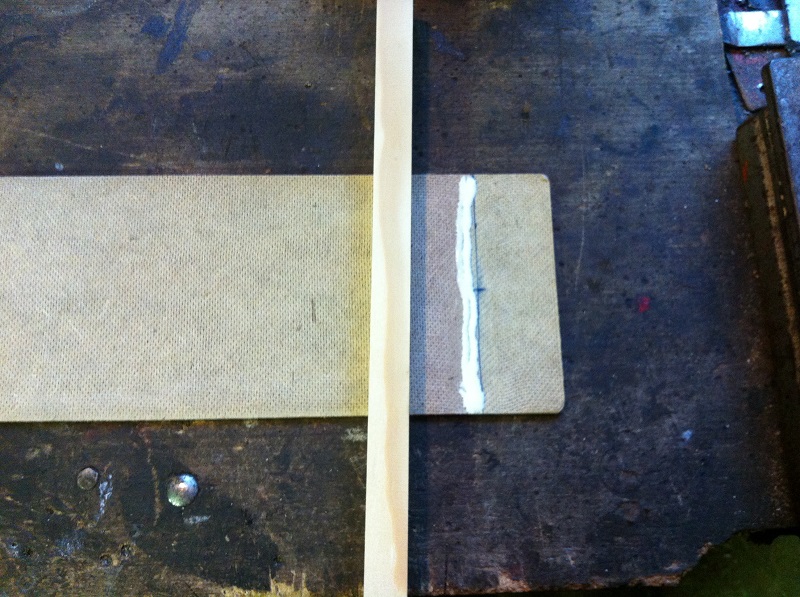
First you need to cut off wood. And then you can start assembly. I used quality glue for wood, because we don’t want to fall apart in the air.
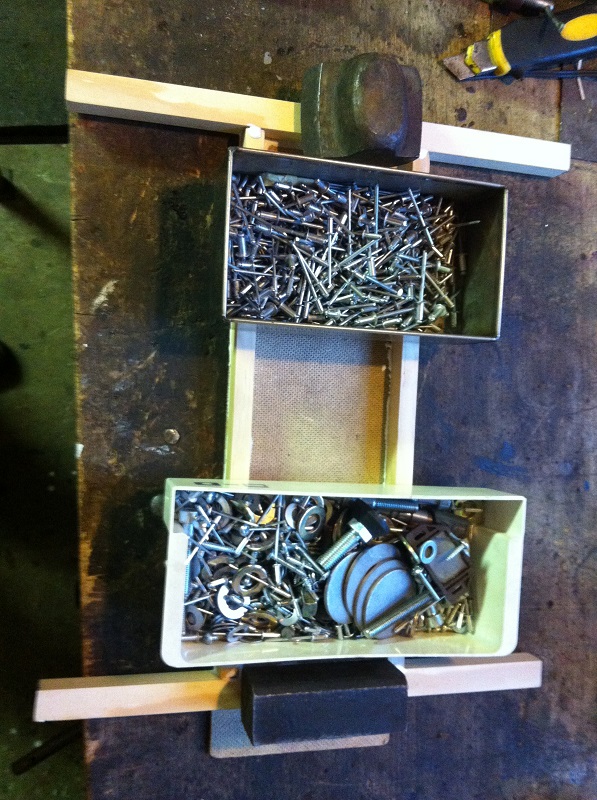
Then I leaved it for about 4 hours. Frame is really stiff.
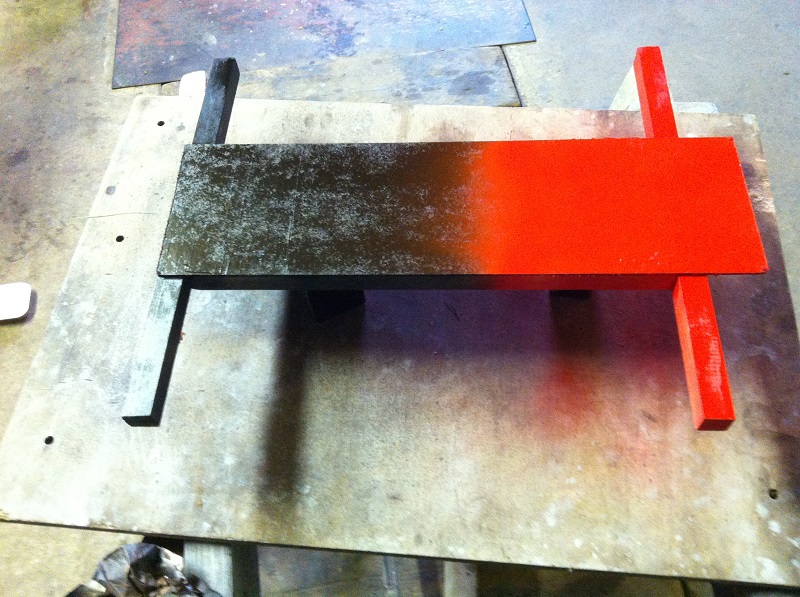
After check, I decided to paint it. Because paint protects wood and you can see it easily in the air.
So whole frame weights about 600 gr. Which is quite a lot. So with all electronics on and battery it should weight about 1000 gr. But frame is very stiff. You need at least 1000kv motors and 20 amp ESC. But more powerful motors would be even better.
Unfortunatly I don’t have enough strong motors for this frame. And I spent quite a lot of money for parts and charger,extra battery. So I’ll have to wait a while, cause I’m broke 🙂
I don’t know why all my hobbies are so expensive. :S
No money, no fun…
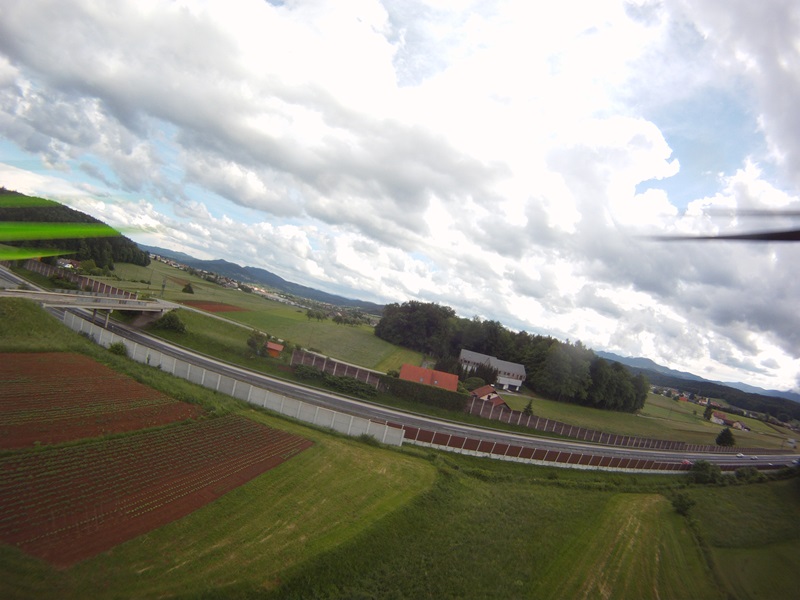
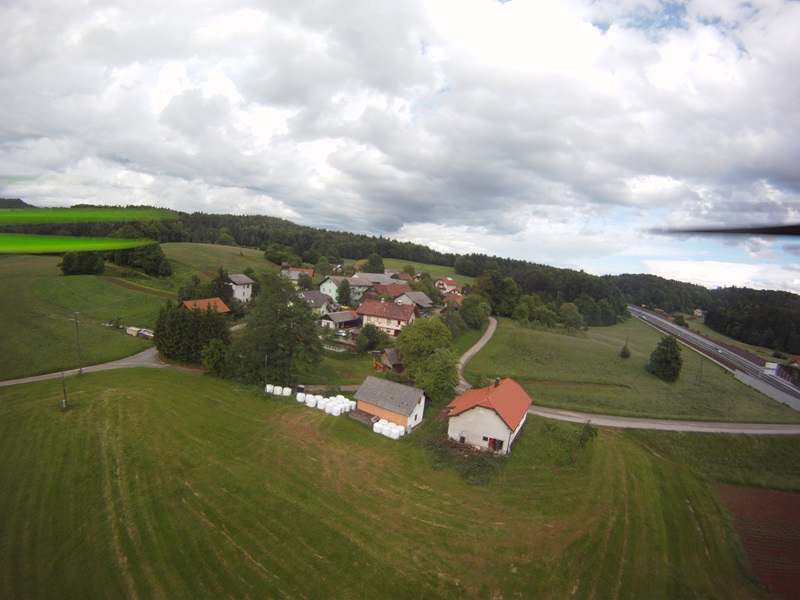
Pics from air
Posted: 31st May 2013 by viljem_r in Gopro, QuadcopterTags: air, hobby, ir, multirotor, nature, ovenia, pic, pics, picture, quadcopter, r/c, slovenia, village
Quadcopter first flight with gopro
Posted: 21st May 2013 by viljem_r in Gopro, Quadcopter, StartTags: air, aviation, camera, first flight, gopro, quadcopter, r/c, www youtube
Nothing special cause it is a first flight 🙂
Quadcopter mods
Posted: 21st May 2013 by viljem_r in Quadcopter, StartTags: crash, DIY, iy, leds, li po, mods, ods, qc, quadcopter, solder iron, volts
After crash 1 week ago, I decided to modify my QC. It was quite heavy crash. I broke frame and 2 propellers. Problem was that I didn’t see it well.
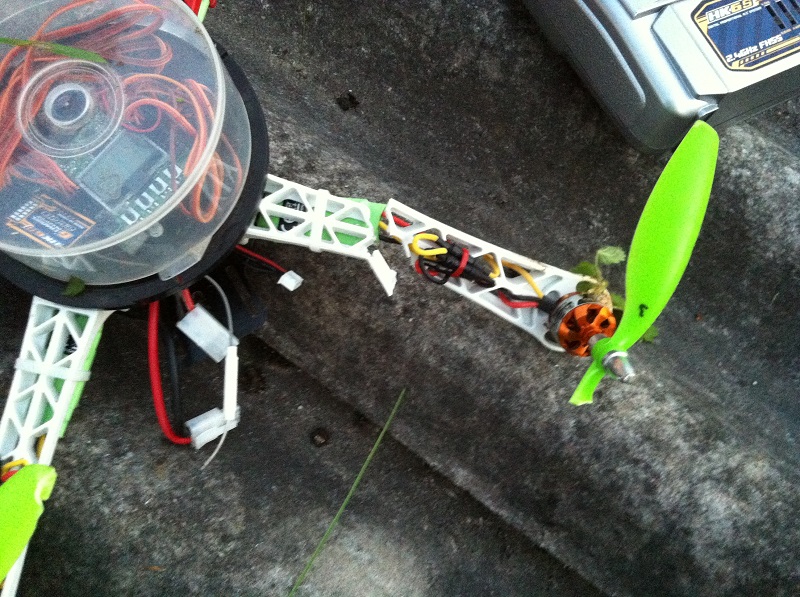
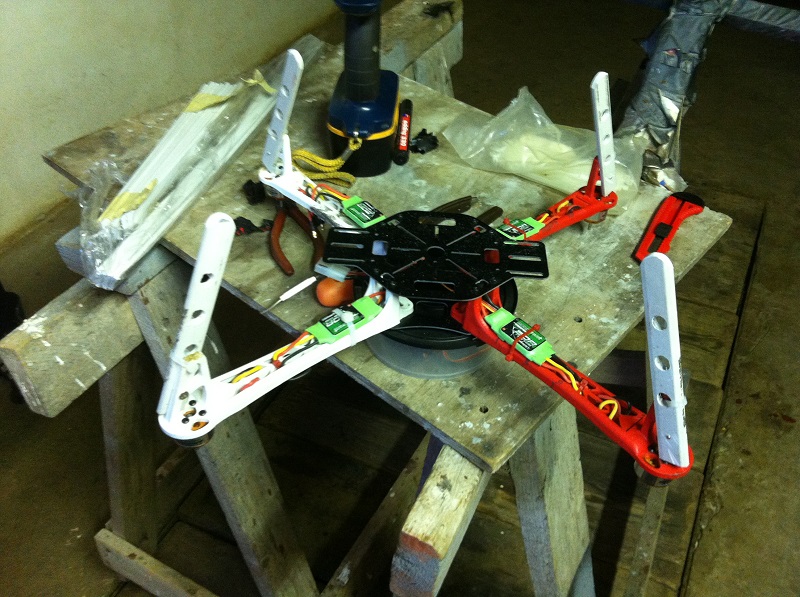
I weld frame with solder iron. And it is as strong as it was before crash.
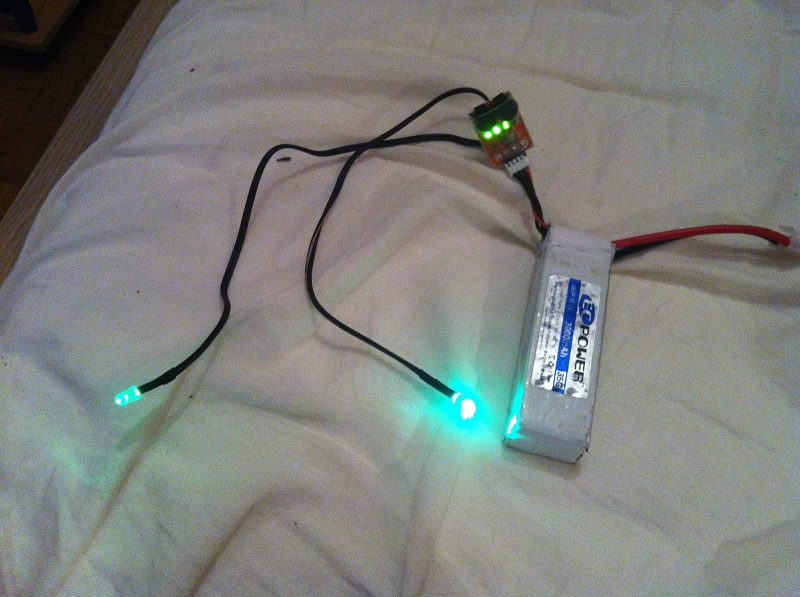
I added 2 green blinking leds in a front. I used them because they work on 4 volts and 3 mA. I tried to use led strip. But consuption was about 20 mA per stripe on 12 V.
I connected 1 led per cell. Because I have li-po alarm, I solder them directly on li-po alarm pins. So 1 led gets 4v (1 cell on battery).
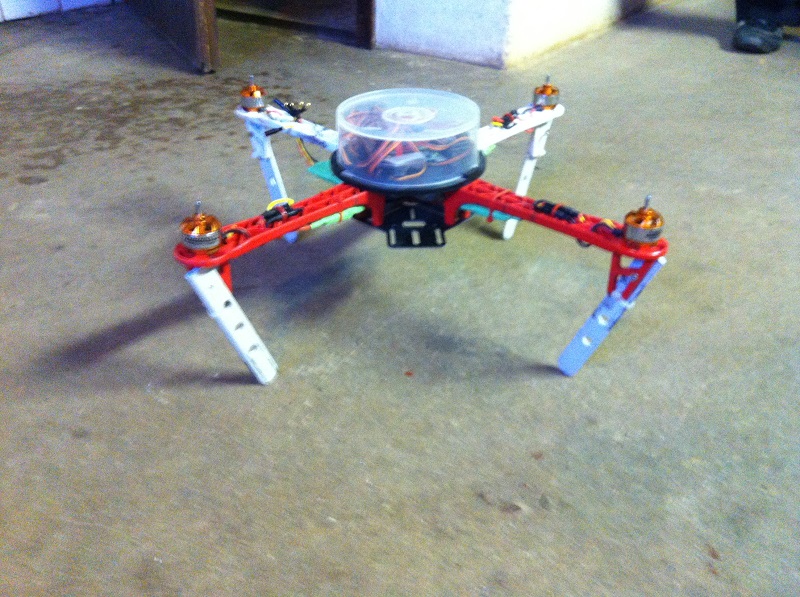
Then I made 4 legs from plastic. Because QC frame is too low. And when you put it on a grass it is like a lawn mower. There weight is 75 grams. It was 100 grams, but I drilled holes in legs.
Now it is 11 cm off a ground. And you can attach camera below frame. Very usefull.
Krim, ATV
Posted: 20th May 2013 by viljem_r in Gopro, StartTags: atv, gopor, gopro, krim, quad, video
Fabia rs
Posted: 16th May 2013 by viljem_r in Cars,bikes, vehicles, Gopro, StartTags: cars, fabia, fabia rs, skoda, transportation
Boring sunday, rain, fabia rs and go pro.
Quadcopter part 2
Posted: 15th May 2013 by viljem_r in Quadcopter, StartTags: 2.0, calibrate, es, esc, ibrate, kk2, multirotor, multirotot, quadcopter, r/c
In part one I showed how to make quadcopter. But in part 2 I will explain a few things, because I spent a lot of time to search information on the internet. I am beginner, but I learn fast. I wanna help you with what I learned.
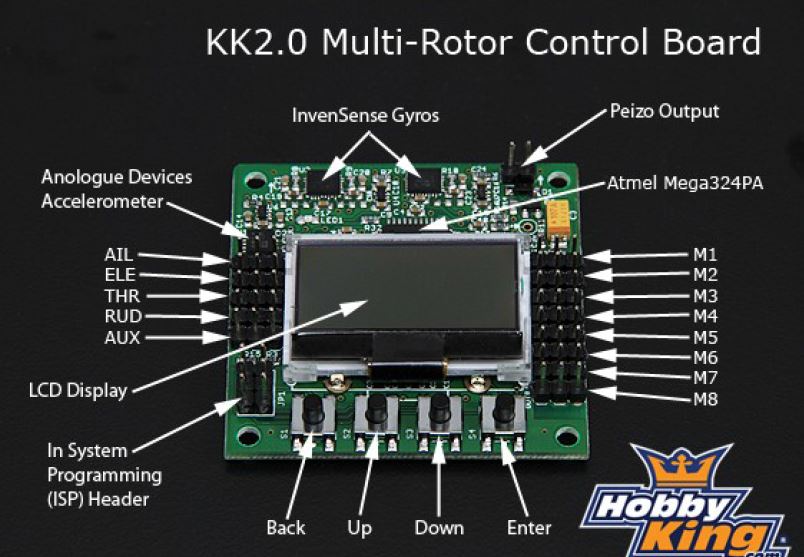
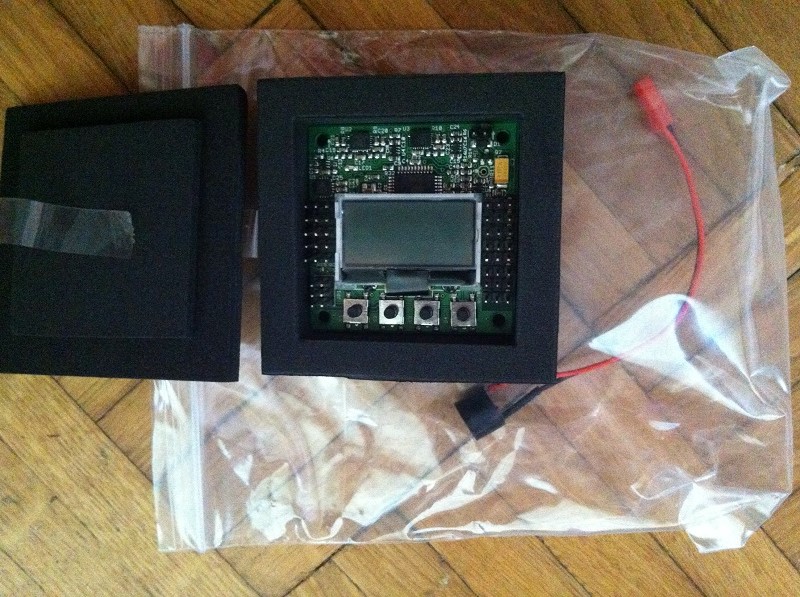
1. KK board is very good for beginners. You can check all settings on a lcd screen.
2.I started with firmware 1.2. Fail! First upgrade to firmware 1.5. Now rookies can fly 🙂
With everything connected on board it is time to:
First go to the menu and select RECEIVER TEST. Tune all number to zero with buttons on the transmitter. Then press left and on a screen should be left, right and you should see right, throttle and you should see throttle full and so one. Maybe you would have to change bottom switches on a transmitter to get proper directions.
Next calibrate ESC. Disconnect battery. throttle to full and reconnect battery and hold buttons 1 and 4. You do that without propellers!!!
Next sensor calibration. Put quadcopter on a groud and go to Sensor Calibration. Follow the procedure on a screen.
Next go to Load Motor Layout. I selected X configuration.
Next enter to Show Motor Layout and check configuration.
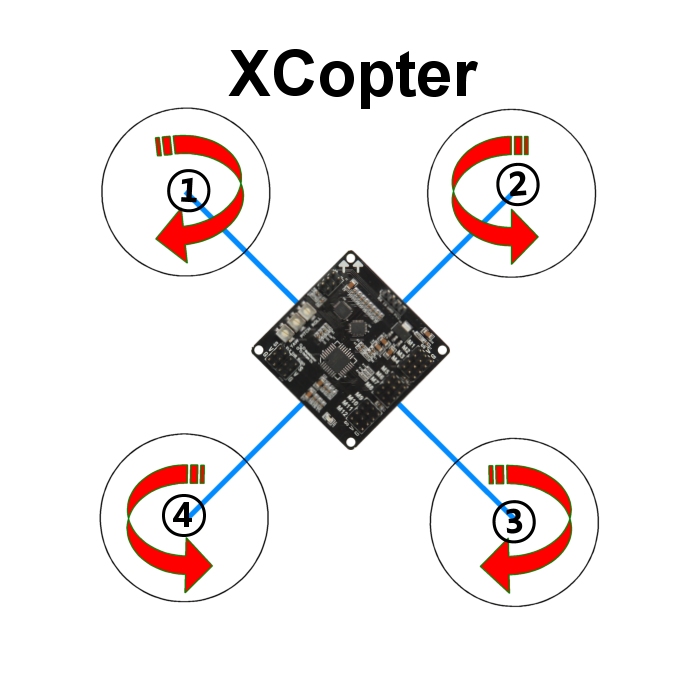
As you probably see in the motor layout 2 motors must turn in oposite direction. You do that by switching 2 wires on the motor. I put red on black and black on red. Now motors will spin in oposite direction 😉
Now attach propellers to copter. Be carefull with directon of spinning. If you put them on a wrong motor, QC will roll over all want fly.
Motors 2 and 4 are both spinning left. So it is very big possibility that screws will loosen and propellers will fall off. You must screw them tight and add washer between propeller and nut. To tight nuts I used slim nail.
Next go to menu Mode Settings. Here you can set how will you start self leveling of QC. You can do it with right stick or with AUX chanel on board if you have more than 4 chanel transmitter. I used 5 chanel ( switch) on a trasmiter. After turning on board self leveling is OFF. You can see that on a home screen of a board. Beginners should use self leveling, because you can learn how to control QC.
Check small things and you are ready to fly. Try to fly outside. Not in a room, I tried that and almost destroyed my lcd tv.
First you have to ARM QC. That means get him out of safe mode. Safe mode is for safety reasons. To arm QC press throttle down and right. You would see red light and hear beep on a kk board. To dis arm pres throttle down and left. Always disarm QC before changing anything on QC. If not you can make damage to QC or get injures!!!
To turn self leveling hold right stick to right while arming QC. After it is ON, it will stay on until you disconnect battery. Then you have to turn it on again.You can turn it off with holding right stick to left while arming QC. But at beginning save money and turn it on 🙂
Or if you use aux connector with switch on a transmitter.
With self leveling on and QC armed you can try to fly. Push throttle gently up until QC is hovering. Lift it to 1 meter and check how it is flies.
You would have to do some fine tuning, but if it is stable at 1 meter, you did fantastic job.
I hope I didn’t miss something. Maybe later I will add more pics.
I give my quadcopter a name. I call it SAF. After great Manchester united manager Sir Alex Ferguson.
Quadcopter part 1
Posted: 15th May 2013 by viljem_r in Quadcopter, StartTags: 2.0, kk, mulitorotor, quadcopter, r/c, technology
OK parts arrived. It is gonna be long afternoon 🙂
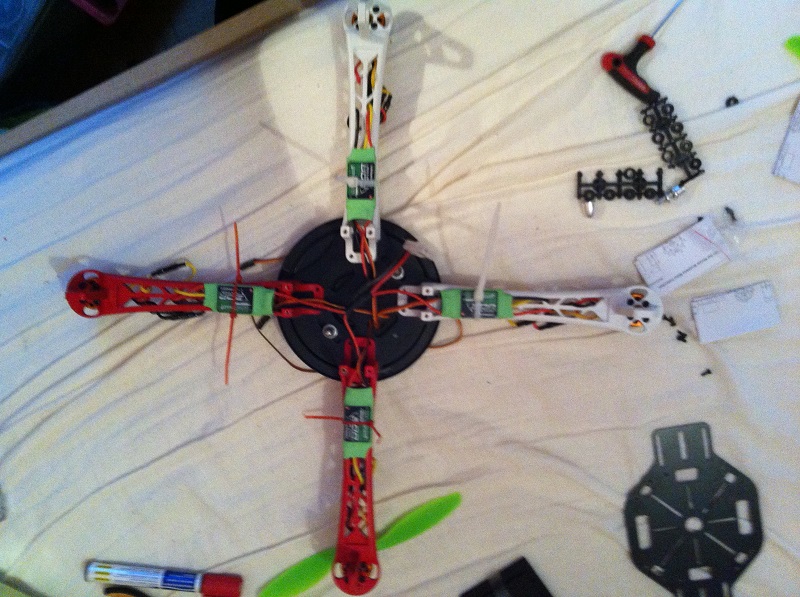
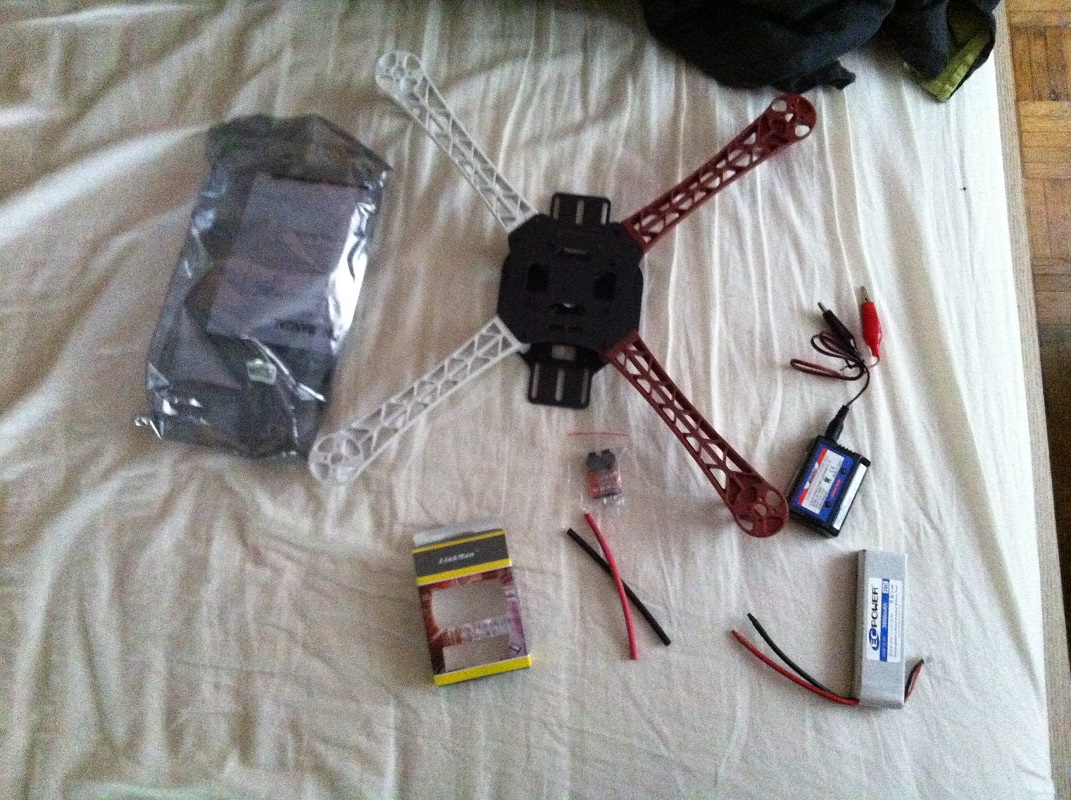
First I assembled the frame. Best is if you do not screw bottom board until you wire quadcopter. Otherwise you would had to dismantle it later.
Then you mount motors on the frame. Some use nylon straps, but I screw them on frame.
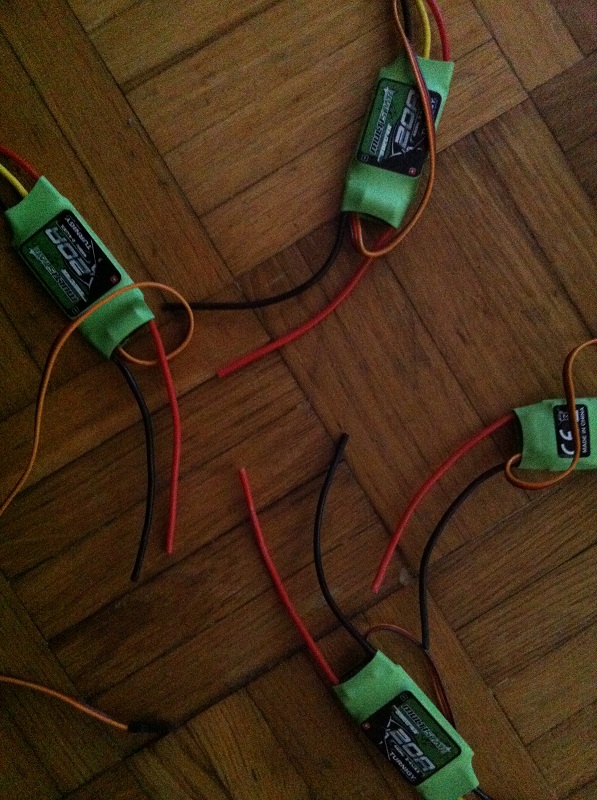
Next you have to put ESCs on the frame. Use again nylon straps.
Because I didn’t buy power distribution board, I solder together all + and – terminals and battery connector. Check lenght of a wires, before you cut them! I bought battery connector in local store.
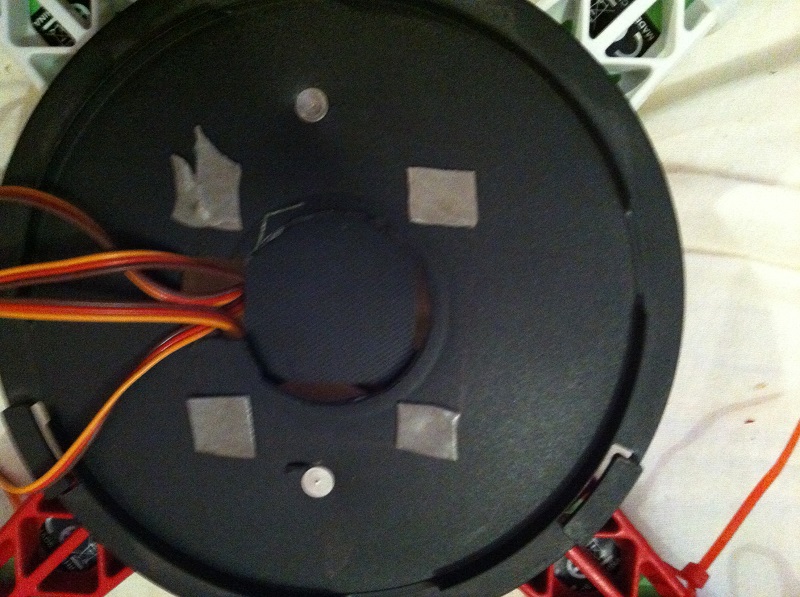
After wiring all ESC and motors it is time to mount kk board. I didn’t mounted directly on a frame. I mounted DVD cake on frame. If you are a beginner you will soon see, why is important to protect board and cables. And dvd cake fits perfectlly.
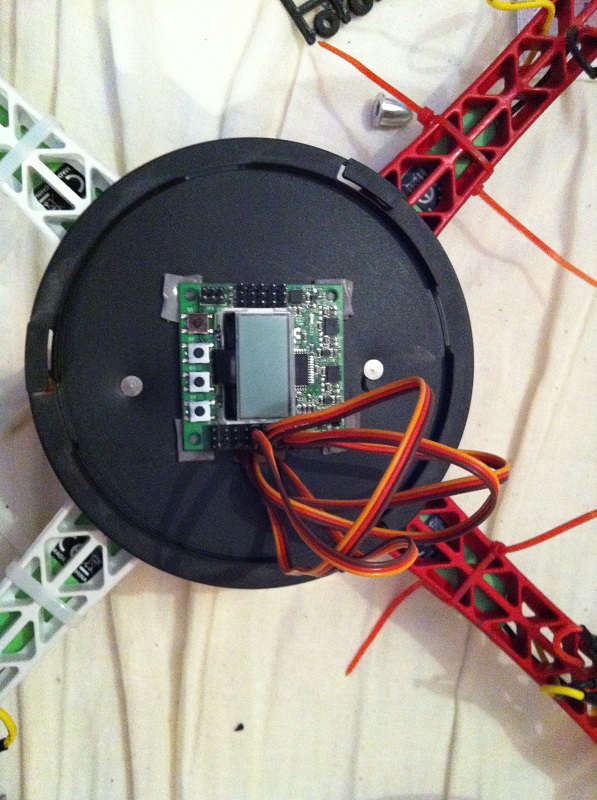
On a cake I mounted kk board. I used scotch outdoor tape. It is enough strong to hold everything in place.
Then you connect ESC to the board. Check picture bellow how motors should spin. I used X configuration. READ KK board manual. It is very short, but very usefull. You can make a lot of damage to your quadcopter!!!
http://www.hobbyking.com/hobbyking/store/uploads/181270330X7478X47.pdf
Check that brown or black wire on the ESC is on the outside of the board! KK board gets power from ESC! On the other side of the board you connect receiver.
Again use 3 pin receiver cables. Because if you don’t you can destroy board. I know that 😉 Check how is polarity on receiver!!!
After everything in place and connected, you can power up the board ( connect battery) Board will start up and on a screen you will see safe.
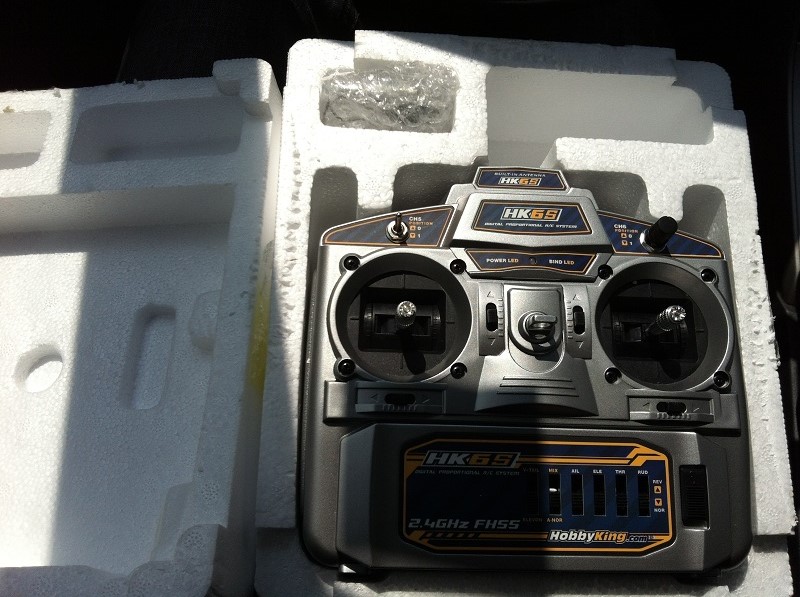
Now bind up receiver and transmitter.Then you can put on a frame bottom board. And do not attach propellers to the motors, this is the last step.
More in part 2 😉
Quadcopter- parts
Posted: 13th May 2013 by viljem_r in Quadcopter, Start, Technical stuffTags: hobby, kk, multirotor, propellers, quadcopter, r/c

